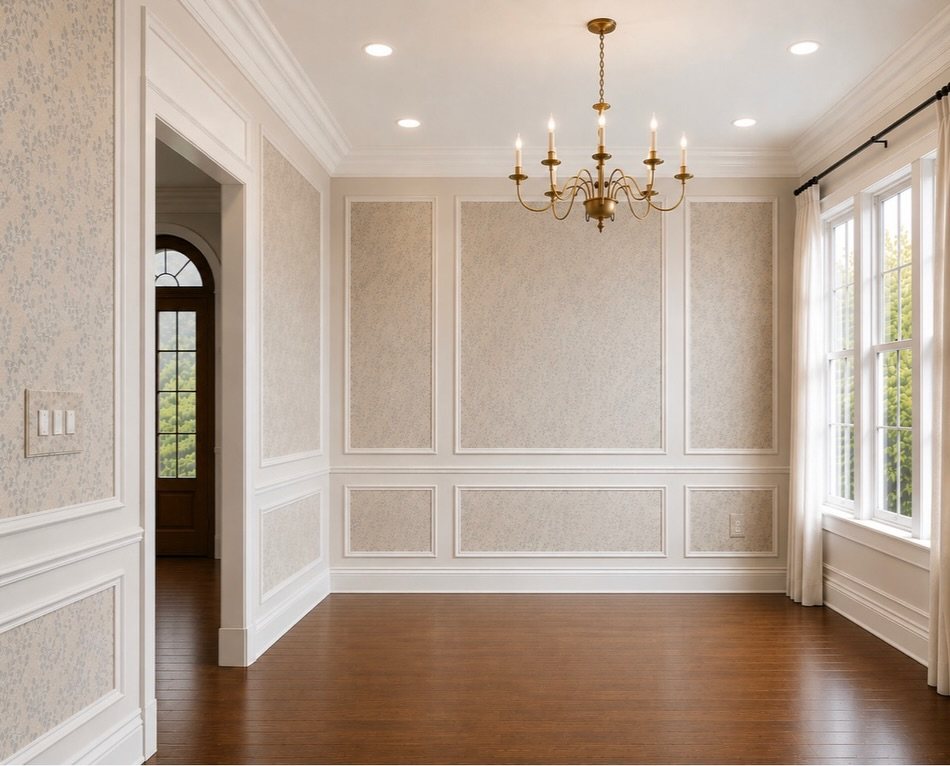
What separates one idea from another is whether you want the wall to read as architecture or as a frame for something inside it.
My first picture frame wall ate most of a Saturday, and the measuring took longer than the nailing; getting the spacing even around windows and corners is where the time goes.
1. Picture Frame Molding
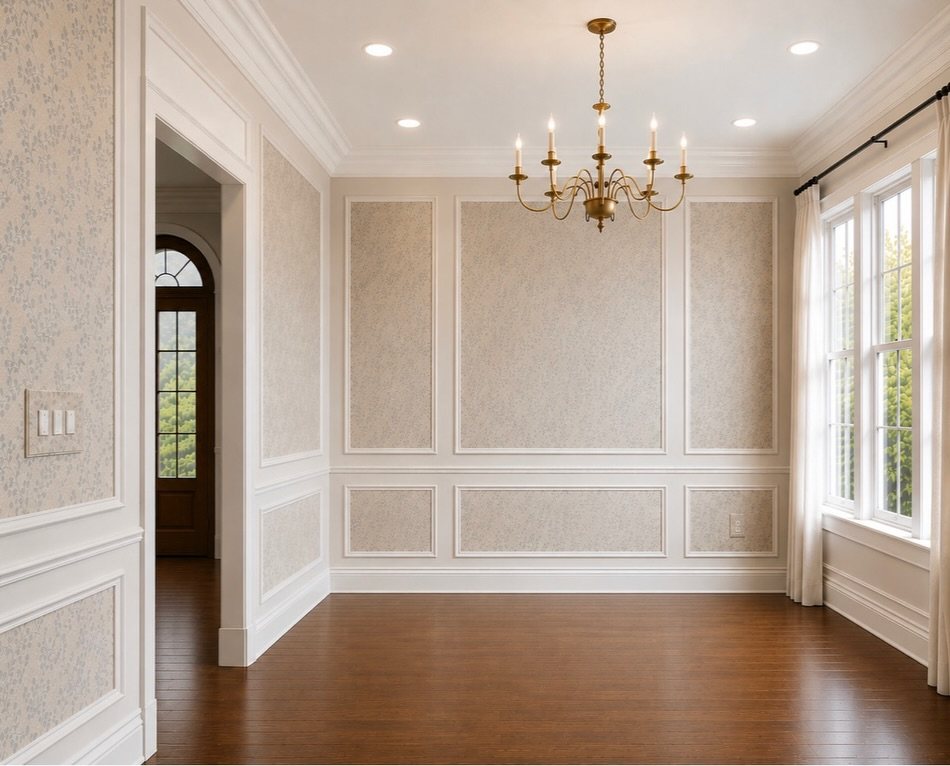
Picture frame molding builds large rectangles directly onto the wall surface, nothing recessed, nothing raised beyond the trim itself. I like that it reads as intentional architecture even in a room with standard ceilings and no other period detail.
Pre-cut kits are easy enough to price out online and install with a miter saw, level, and brad nailer.
I spent one Saturday on my first wall, most of it measuring twice so the spacing stayed even around windows and corners.
Paint everything before you attach it; the gaps between wall and trim shrink to invisible that way. This one suits renters with patient landlords or anyone who wants impact without carpentry skills.
2. Wainscoting Panels
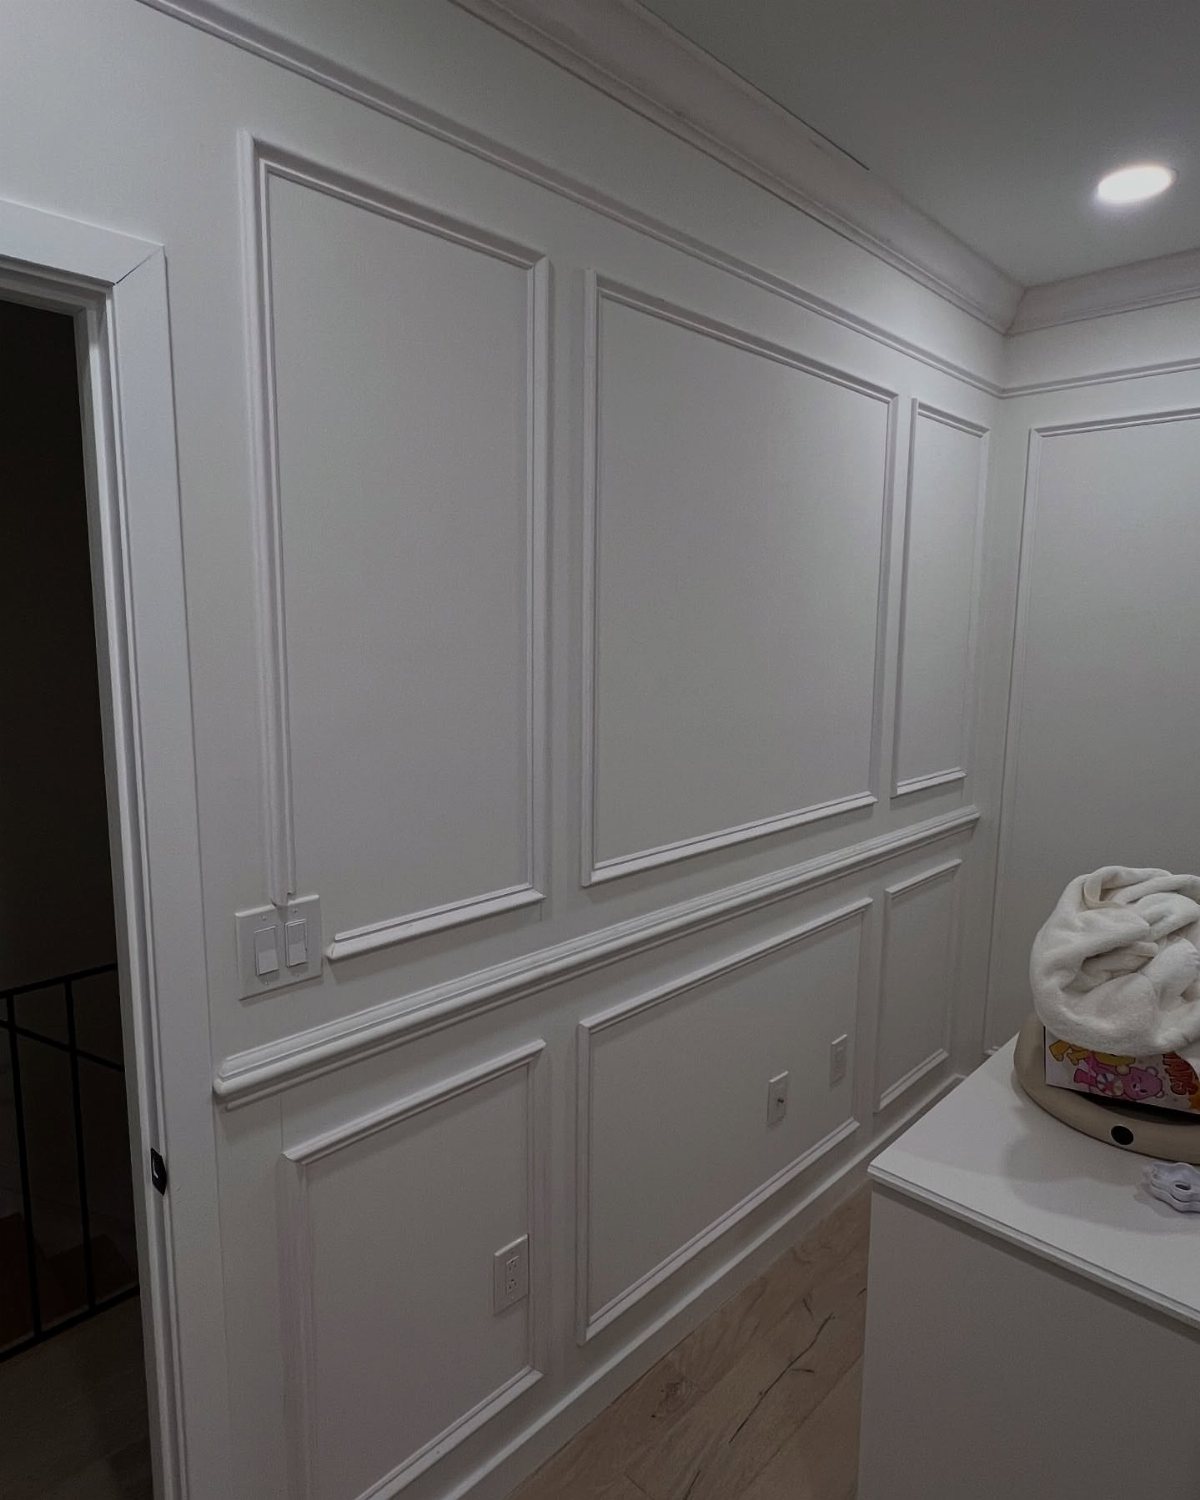
Wainscoting panels split the wall horizontally, usually with a chair rail dividing upper rectangles from smaller lower ones. The symmetry does the heavy lifting; your eye fills in grandeur even when the material is primed MDF from a big-box store.
Paint or stain depends on what else lives in the room.
I left mine white where the floors were dark and the trim already matched, but in a room with oak floors and existing woodwork, a tone closer to the floor tied everything together.
Check your baseboards and door casings before you decide; introducing a third wood color rarely helps.
The lower panels take more abuse from chairs and vacuum cleaners, so harder paint or a satin finish beats flat there.
3. Grid Pattern Molding
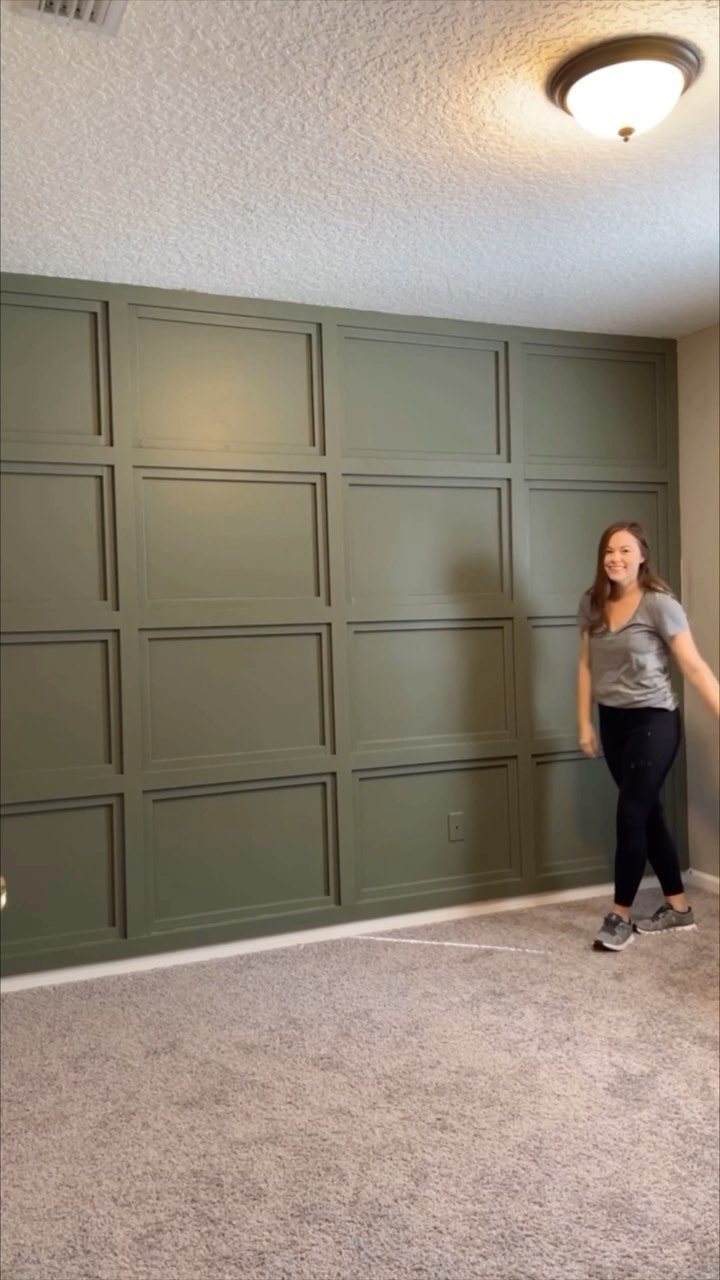
Grid pattern molding covers the whole wall in repeating rectangles, floor to ceiling, no chair rail to break it up. Paint color within the grid can become the feature, not the trim itself.
I installed mine with 1×3 pine strips, not a kit, because I wanted the boxes wide enough to align with wall studs. That choice meant more measuring but far simpler fastening; every vertical piece hit solid wood.
If your wall is plaster or you cannot find studs reliably, pre-assembled grids that glue and tack in place save the headache.
Small rooms gain depth from this treatment, though I would not push it in a space with sloped ceilings or multiple doorways breaking the pattern.
4. Shadow Boxes
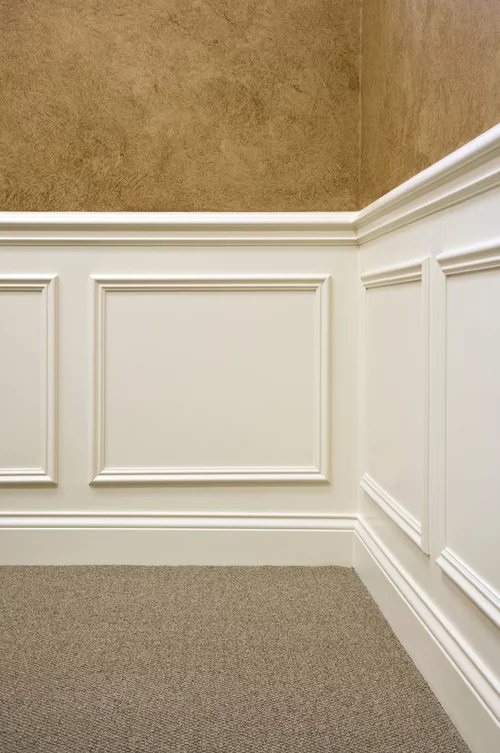
Shadow boxes recess slightly behind their trim frame, catching light differently than flat picture-frame molding. The effect is subtle until you stand in the room, and then the wall reads as built-in rather than applied.
Brad nails through the trim into studs or blocking hold the frame; construction adhesive backs it up where you cannot hit wood.
I learned the hard way that adhesive on painted drywall needs a scored surface or it skins off in sheets. On plaster, I switch to a construction adhesive rated for uneven substrates and let it cure fully before trusting it.
This style collects dust inside the recess. A vacuum brush attachment reaches it, barely; I would skip shadow boxes in a hallway that sees actual muddy boots and grocery bags.
5. Ornate French Traditional Molding
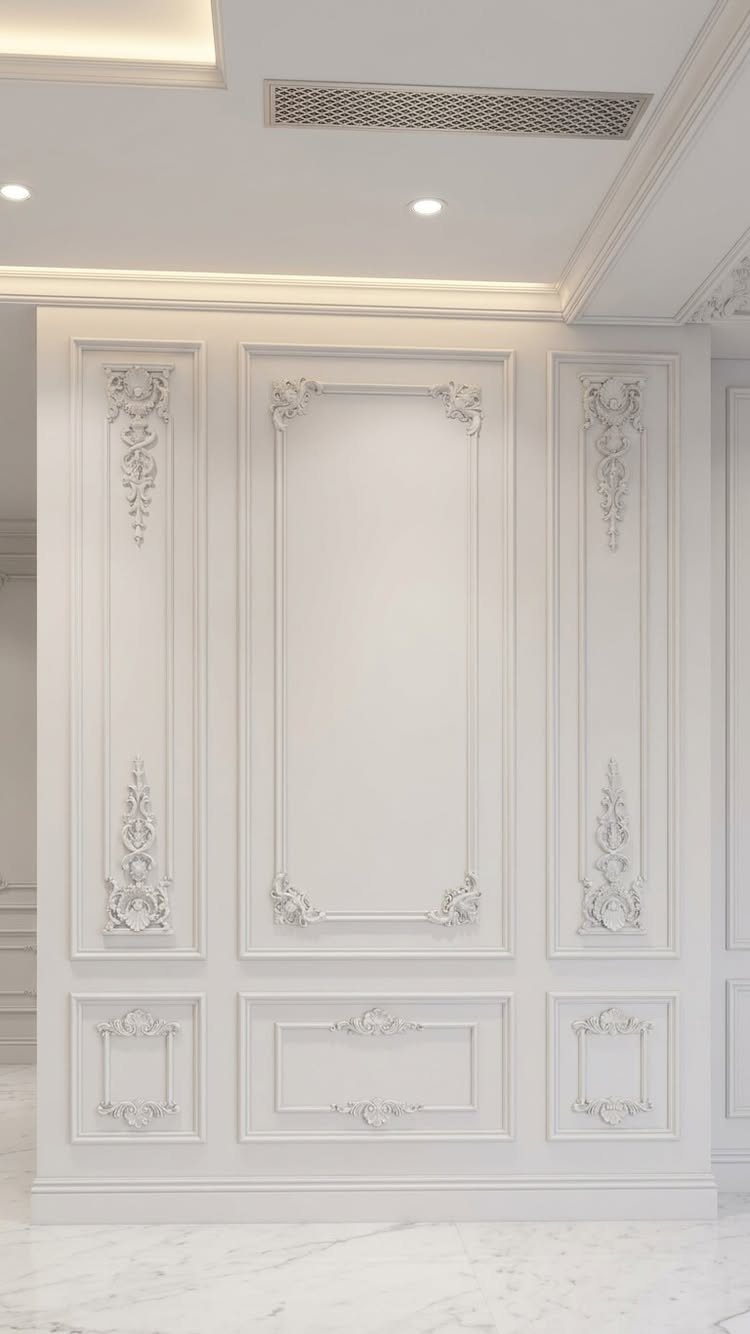
Ornate French traditional molding carries floral relief at the corners, somewhere between wainscoting and furniture carving. This style works crisp and white, but I would pick cream, gray, even lacquered black against lacquered walls for a different mood.
The relief pieces arrive resin or plaster, not wood, so they glue on after the flat frame is built.
Weight matters here; a corner applique the size of a salad plate needs adhesive plus a pin nail through its center, not just perimeter brads.
Check your wall for hollow spots by knocking before you plan the layout; relocating a corner to hit solid backing beats filling a crater later.
This one trades restraint for drama. I would use it in a single room, a powder room or dining room, not running through every space in an open plan.
6. Botanical Inset Molding Frames
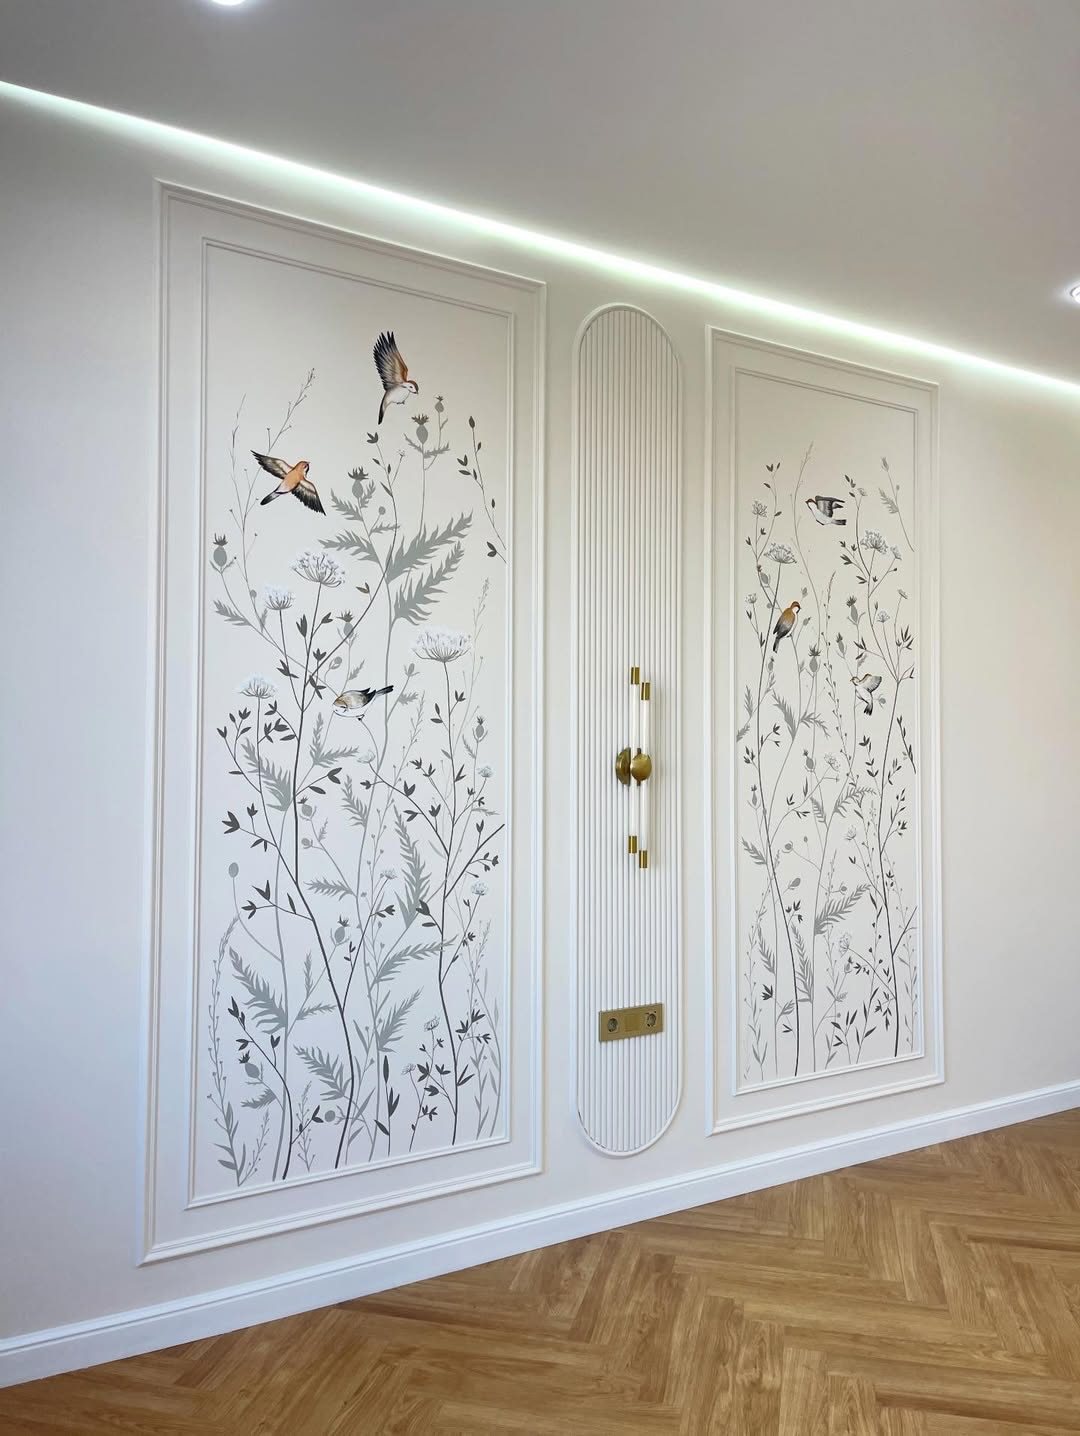
Botanical inset molding frames treat the wall panel as a display case for art, not architecture for its own sake. A central fluted panel breaks the symmetry just enough to keep the wall from reading as a gallery grid.
Printed wallpaper inside the frame, hand-painted panels, even pressed botanicals behind glass are all options I would consider. The technique stays the same: build the molding box first, then fit your insert.
Depth is your friend; a panel that sits back from the trim face catches shadow and looks deliberate, not like you hung a picture crooked.
This suits the reader who found molding projects too abstract and wants the wall to actually show something. The fluted detail between panels is optional and easier added as a separate purchase than routed yourself.
Visual Impact
White reads as architecture even when the ceiling stops at 9 feet. The same grid in a warmer tone softens into background; cream or gray lets the wall hold furniture instead of competing with it.
I would paint the inset of a panel one shade deeper than the surrounding wall before I would hang art there. The color variation does the work of a picture without the hardware.
In open plans, molding boxes define where one room ends and another begins. A chair rail carried through a doorway signals a shift without needing a full wall.
Installation Tips
A utility knife cross-hatch does it; the glue grips the paper, not the paint film.
Shadow boxes and ornate corners need blocking behind the drywall or they loosen over seasons. I would rather move a box 6 inches left than fill a hollow spot later.
Pre-painting saves touch-up work but leaves you matching caulk to the sheen afterward. Satin hides the line; gloss shows it.
Material Choices
Polyurethane and polystyrene kits arrive pre-primed and lighter than wood. Corner detail is where resin appliques show their limits; they glue fine, but the material itself will not hold crisp carving.
Wood 1×3 strips let you align with studs, which matters more on plaster walls where hollow spots are harder to predict. Pine dents if you look at it wrong; hardwood trim costs more and fights back against a brad nailer.
I would skip it for anything with a corner joint.
Cost Considerations
The break-even shifts once you have a nailer and a level; then raw material and your Saturday become the whole cost.
Self-adhering moldings exist for renters, though I would not trust the adhesive through a humid summer. A painted finish that matches the wall hides the repair later.
A thousand starts to cover a room, or one wall in ornate French corners where the appliques multiply.
If the latter, an brad-nailer with spot adhesive will certainly fasten those pcs of mldg. If no air, could probably contact adhesive them to a primed/painted surface.
Frequently Asked Questions
What are the trim boxes on walls called?
Picture frame molding or box molding are the most common names. These are pre-cut kits or strips of trim applied flat to the wall surface to form rectangular frames, with nothing recessed or raised beyond the trim itself.
How to do box molding on walls?
Start by measuring twice and laying out your spacing with a level, especially around windows and corners. Paint the trim before you attach it so gaps shrink to invisible, then fasten with a brad nailer and construction adhesive.
A first wall takes one Saturday, most of it measuring, with a miter saw for the corner cuts.
What is the square moulding on walls called?
Box molding or picture frame molding. The terms cover any rectangular trim pattern applied to the wall surface, whether as single frames, repeating grids, or wainscoting-style panels.
What is the difference between box molding and wainscoting?
Box molding is decorative trim applied to the wall surface, usually forming rectangles anywhere on the wall.
Wainscoting is paneling that splits the wall horizontally, covering the lower portion with smaller panels beneath a chair rail, and it takes more abuse from chairs and vacuums so it needs harder paint or a satin finish there.