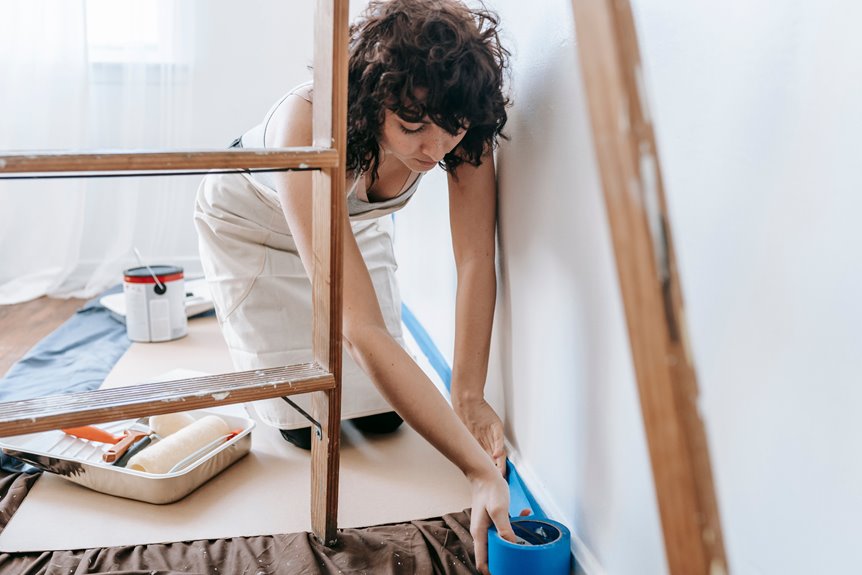
I’ve tested enough floors to know this step is critical. Test your finish first, then check if that splatter is water-based by using rubbing alcohol. Grab plastic scrapers, never metal, and work wet paint with damp cloths while it’s fresh. For dried latex, warm soapy water softens it; stubborn spots need a heat gun at 140°F, moving in slow circles so the wood stays undamaged. Wipe residue, buff with microfiber, and touch up scratches with matching polish. Each technique requires attention to detail for proper results.
Check Your Floor Finish Before You Start Scraping
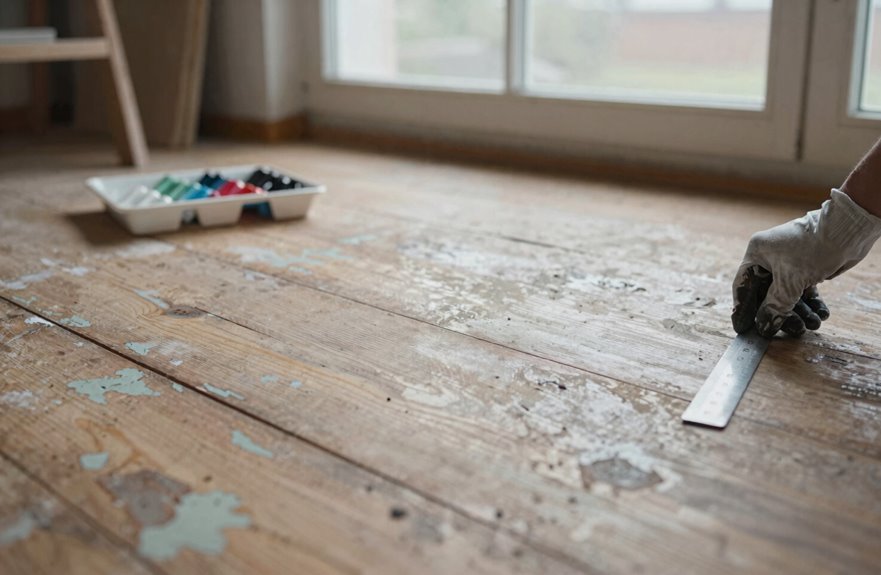
Why jump straight into scraping when I don’t even know what I’m dealing with. My living room floor taught me a brutal lesson about assumptions.
First things first, I figure out my floor finish: polyurethane, wax, or shellac, because each one reacts differently when chemicals show up. Polyurethane handles gentle paint thinners and rubbing alcohol without issue. But wax and shellac require more caution. They react poorly to harsh solvents, and don’t use heat guns on them unless you want the finish to deteriorate.
Here’s my essential step: the finish test. I apply a drop of my chosen cleaner behind the radiator where it won’t be visible. Wait, watch, and observe. No cloudiness means the finish can handle it. Still uncertain about your floor’s finish. Check the care guide or contact a professional.
Test If Your Paint Is Water-Based or Oil-Based
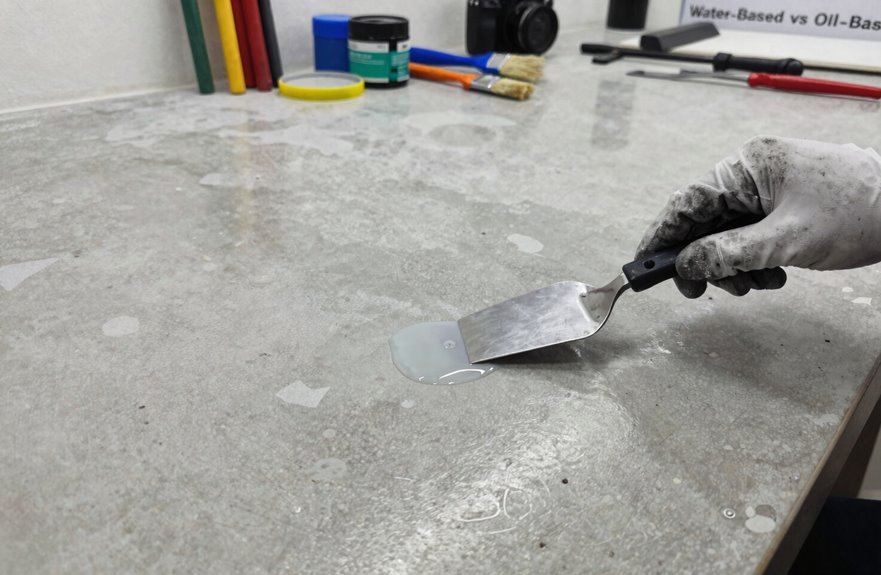
The worst feeling? Ruining your gorgeous floor because you grabbed the wrong cleaner. Before I attack any paint splotch, I always test what I’m dealing with, and you should too.
Here’s my foolproof method: I grab a damp cloth with warm water and press it on the mystery spot for thirty seconds. If the paint softens and smears like wet sidewalk chalk, it’s water-based. If that stubborn blob doesn’t respond to water, I know I’m dealing with oil-based paint.
That’s when I bring out the rubbing alcohol. I dab a tiny amount on a hidden corner (always test first), and watch if it dissolves the paint. This confirms what type of paint you have. Knowing this prevents damage to your finish and protects your floor.
Grab These Tools Before You Start
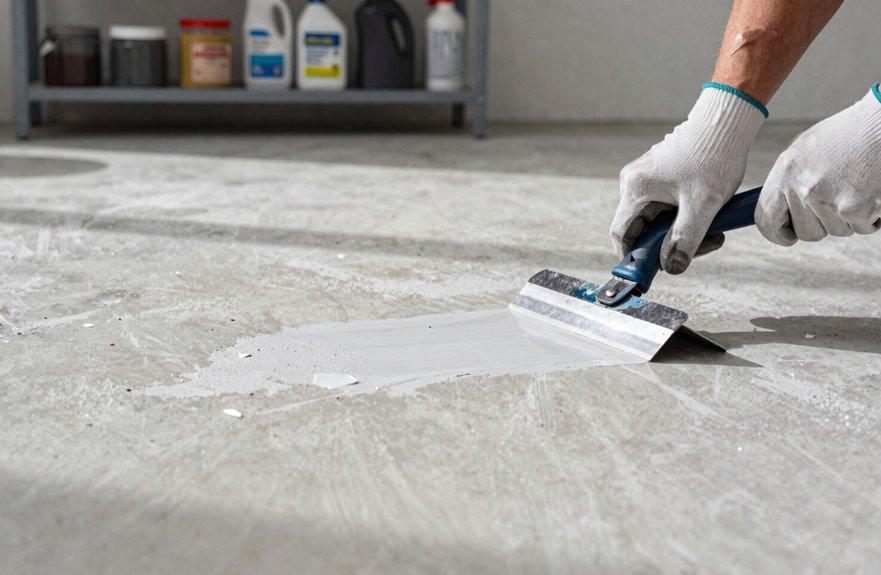
I’ve learned the hard way that showing up to a paint removal job with just an old butter knife and a prayer is a recipe for heartbreak and a ruined oak finish. Before I even think about touching that dried splatter, I gather my scraping tools, my solvents and cleaners, and yes, the boring but vital protective gear that I used to skip. The headache I got in 2019 still haunts me. Let me walk you through exactly what I grab, because having the right stuff on hand turns this nightmare chore into something manageable enough to finish before dinner.
Essential Scraping Tools
Where do you even begin when paint’s splattered across your gorgeous floors? I’ve been there, staring at that blob like it personally betrayed me, and I can help.
Start with a plastic scraper, the one with that perfect straight edge (my Pampered Chef hero). It lifts paint without scratching your wood. Keep a squeegee super close because wet paint waits for nobody, and you need to swipe that residue before it burdens into the grain.
For stubborn spots, pull out your straight edge razor with flat blade ready. Damp cloths and a dust pan will handle the mess, restoring your beautiful floors.
Solvents And Cleaners
Once you’ve scraped off what you can, it’s time to talk chemistry. I once ruined a patch of oak by grabbing the first bottle in my cabinet without reading the label, so this lesson comes from experience. You’ll need: rubbing alcohol for water-based paint, mineral spirits for oil-based stubborn spots, mild dish soap, warm water, and microfiber cloths.
Always test hidden spots first. Wax and shellac finishes react poorly to strong solvents. For water-based finishes, use soap and warm water. For oil-based finishes, dampen a cloth with rubbing alcohol or mineral spirits, let it sit, then scrape gently with plastic.
Ventilate the space, wear gloves, wipe residue with a clean damp cloth, and dry thoroughly. If you’re uncertain about the finish type, contact a professional.
Protective Gear Basics
The right gear makes a significant difference in your project’s success. Skipping protective equipment turns a simple project into an uncomfortable, hazardous situation. Ventilation is essential. Open windows, use a fan, and keep air circulating to avoid inhaling fumes.
Here’s my go-to setup:
| Essential Item | Why I Never Skip It |
|---|---|
| Protective gloves | Saves my hands from chemicals and that weird dried-paint crust |
| Plastic scrapers | Gentle on floors, no ugly scratch marks |
| Microfiber cloths | Soft, effective, no lint disasters |
Keep a small bowl ready for mixing solutions and a damp cloth close for immediate wipe-ups. Proper preparation prevents respiratory irritation and skin damage.
Scrape Wet Paint With Water and a Plastic Tool
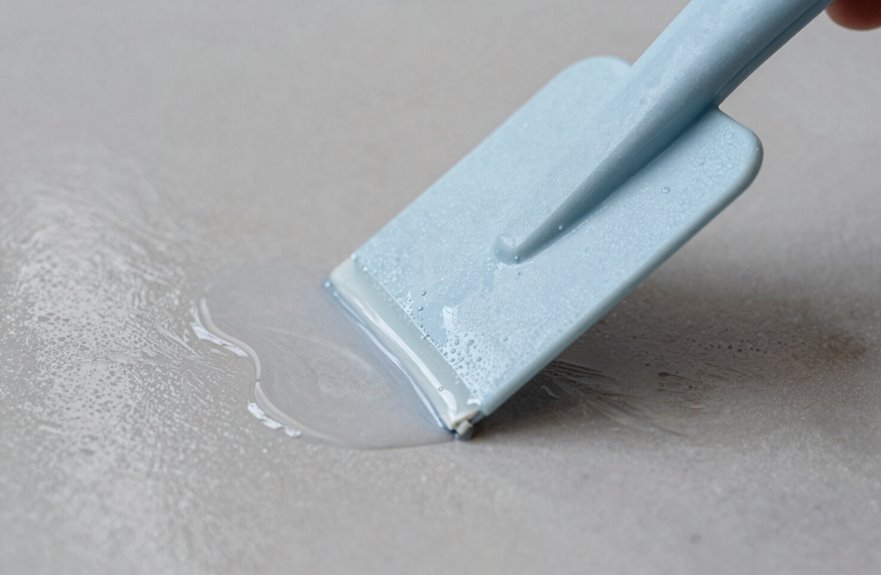
I can’t tell you how many times I’ve stared at a fresh paint splatter and thought, “Well, that’s just perfect.” You need to move fast before that wet paint dries permanently. Grab a plastic scraper, not a metal one that will damage your floor, and give that blob a quick mist of water or mild cleaner to soften it up. Work with the grain, use short steady strokes, and you’ll lift that paint right off.
Act Fast First
Fresh paint on your floor requires quick action. Grab a plastic tool, not metal, and lightly spray the spot with water to loosen it. Working with the grain, gently lift the wet paint before it hardens. The plastic tool won’t scratch the surface. Keep a damp cloth nearby to catch paint flakes before they spread to other areas. Wet paint sets quickly, so speed is essential. Collect debris as you work to prevent additional spots, and your floor will be restored promptly.
Plastic Tool Selection
Choosing the right plastic tool is essential for this operation. I learned this the hard way when I accidentally damaged my apartment’s floor. You want a straight-edged plastic scraper, similar to a Pampered Chef spatula, something with enough flex to lift wet paint without damaging your hardwood finish.
| Tool Type | Why It Works | My Hot Take |
|---|---|---|
| Straight-edged plastic scraper | Glides under paint film, zero scratches | Your floor’s new best friend! |
| Flexible putty knife (plastic) | Contours to wood grain beautifully | Surprisingly satisfying to use |
| Old gift card | Emergency backup in a pinch | We’ve all been there, no shame |
Hold that plastic scraper shallow and push steady. For stubborn spots that linger, hit them with a damp cloth. This approach will protect your wood surface while effectively removing the paint.
Water Application Method
Water softens that stubborn paint film, making it surrender without a fight. I’ve learned this through experience.
I start by spraying the spill with water or a mild cleaner, letting it sit for a moment. Then I grab my plastic scraper. Never use metal, as it can damage the floor. Glide along the wood grain with short, gentle strokes, working with the pattern, not against it. For stubborn spots, re-wet and re-scrape, flipping to a fresh blade edge when needed.
Between passes, I wipe with a damp cloth, catching those loosened chips before they settle back down. It’s oddly satisfying, like peeling sunburned skin (gross but true). Your floor stays flawless, and the dried paint removes cleanly.
Dissolve Dried Latex Paint With Soapy Water
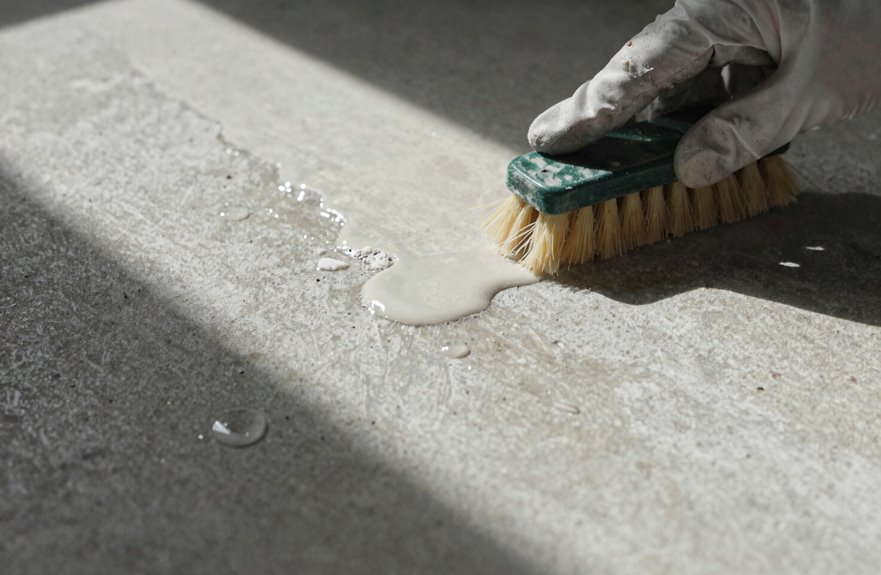
When I’m staring down a paint splatter that’s gone from wet to that stubborn, rubbery crust, I grab my spray bottle and mix up something simple. Warm soapy water melts dried latex paint effectively. I spray, wait a minute, then slide my plastic scraper under that softened film without scratches, just satisfying peel action. For the sneaky bits that cling, I dampen a microfiber cloth, work with the wood grain, and rub gently. My floor is clean again. I wipe clean with no residue left behind. Stubborn spot? Fresh cloth, more soapy water, repeat. The paint responds to this method.
Break Down Oil Paint With Rubbing Alcohol
I grab my plastic putty knife and attack those oily, stubborn splatters with the focus of someone who’s learned this lesson the hard way. Oil-based paint clings like it owns your floor, but rubbing alcohol is the solution.
First, test it somewhere hidden, as finishes can react unpredictably. Dampen a cloth, not soaking, just moist, and circle the spot gently. The alcohol breaks down that stubborn oil-based paint, lifting it bit by bit. Wipe clean with a damp cloth, leaving no trace. If it’s still sticky, use a fresh cloth and more rubbing alcohol, then repeat. One final wipe with a microfiber cloth, and the floor is clean, restored, and ready to use.
Soften Stubborn Paint With a Heat Gun
That heat gun sitting in your garage can become an effective tool for paint removal. I’ve softened paint on countless floors using this method.
I hold my heat gun about 6–8 inches back, moving in slow, small circles like I’m frosting a cake without scorching. We’re aiming for 140–160°F, just enough to soften paint without damaging that gorgeous wood grain beneath. Keep it moving at all times.
Once that stubborn paint bubbles and yields, I grab a plastic scraper (never metal) and lift it in thin layers, working with the grain.
Wear heat-resistant gloves, as the equipment gets hot. Ventilate the space. If nothing budges after several passes, don’t force it. Some paint requires chemical solvents for removal.
Wipe Away Residue and Buff the Floor
Once that last bit of paint surrenders to your scraper, the cleanup phase remains critical. That sticky residue loves to hide in grain lines and can compromise your finished floor.
Here’s how to complete the process:
- Grab a damp cloth and wipe the area gently, lifting that residue before it spreads
- Switch to a soft microfiber cloth for the final pass. No scratches, just particle-picking power
- Dry thoroughly with a soft towel because moisture causes wood warping
- Buff with a dry microfiber cloth until the sheen returns to the surface
If stubborn spots linger, repeat with mild soap and warm water.
Fix Scratches or Discoloration From Removal
I’ve learned the hard way that paint removal can leave your floor looking damaged, so I check every inch for scratches or discoloration before finishing. When I spot minor scuffs, I grab a soft cloth and matching polish to buff away the patchy sheen and blend it with the surrounding wood. If I’ve gouged down to bare timber, I use wood filler, sand it smooth, and rebuild the finish layer by layer to restore the surface properly.
Assessing Surface Damage
How do you know if your floor has been damaged after all that scrubbing? I’ve been there, squinting at mysterious streaks, wondering if I’ve ruined everything. Paint removal is tricky, and surface damage loves to hide until you look closer.
Use this checklist:
- Inspect the treated zone like a detective, comparing it to untouched areas for scratches, discoloration, or a dull finish.
- Buff lightly with a soft microfiber cloth. This reveals hairline scratches and hazy residue from cleaners.
- Check your floor’s maintenance guide when color is off or finish looks worn; it will point you to proper touch-ups.
- Document everything with photos and notes so you can avoid repeating mistakes on future projects.
Buffing Minor Marks
Those streaks and scratches I spotted during my inspection were not a disaster. Gentle buffing with a soft cloth removes these minor marks. I grab my microfiber cloth, lint-free, and work in small circles, starting light then pressing more if needed.
| Finish Type | What I Use | My Motion |
|---|---|---|
| Oil-based/wax | Touch-up wax or balm | Soft, circular buffing |
| Polyurethane | Non-abrasive floor polish | Gentle, overlapping circles |
| Unknown? | Test spot first. | Patience required |
| My secret weapon | Soft cloth + elbow grease | Consistent, even pressure |
I always test hidden corners first. A dab of compatible polish restores the shine and fills micro-scratches so everything blends together. The floor retains its character while looking refreshed.
Refinishing Deep Imperfections
Scratches and discoloration linger after the paint is gone. Removing them requires focused effort.
Here’s how to tackle refinishing:
- Assess the damage. Scan for spots where paint removal went too deep and determine if refinishing will restore the appearance.
- Sand lightly. Use 320-grit paper to smooth ragged edges until the surface is even.
- Match the finish. Apply matching lacquer or oil to bare spots, feathering outward so the repair blends seamlessly.
- Even the tone. Stain lighter spots and seal everything.
For severe damage, consult Junckers for professional floor restoration.
When to Hire a Pro Instead of DIY
Why beat myself up over a stubborn paint blob when I can call in someone who actually knows what they’re doing. I’ve learned the hard way that some battles aren’t worth the stress, especially when my floor’s on the line.
If I’m staring down a massive spill across multiple planks, or that paint has sunk deep into the grain and won’t come out, I wave the white flag. Delicate finishes such as waxed, shellacked, or lacquered wood require professional care. One wrong move with harsh paint remover can permanently damage the wood.
When heat guns and chemicals feel beyond my comfort zone, or my DIY attempts have left weird dull patches and uneven sheen, I opt for professional refinishing instead. Professional work prevents costly mistakes and restores the floor properly.