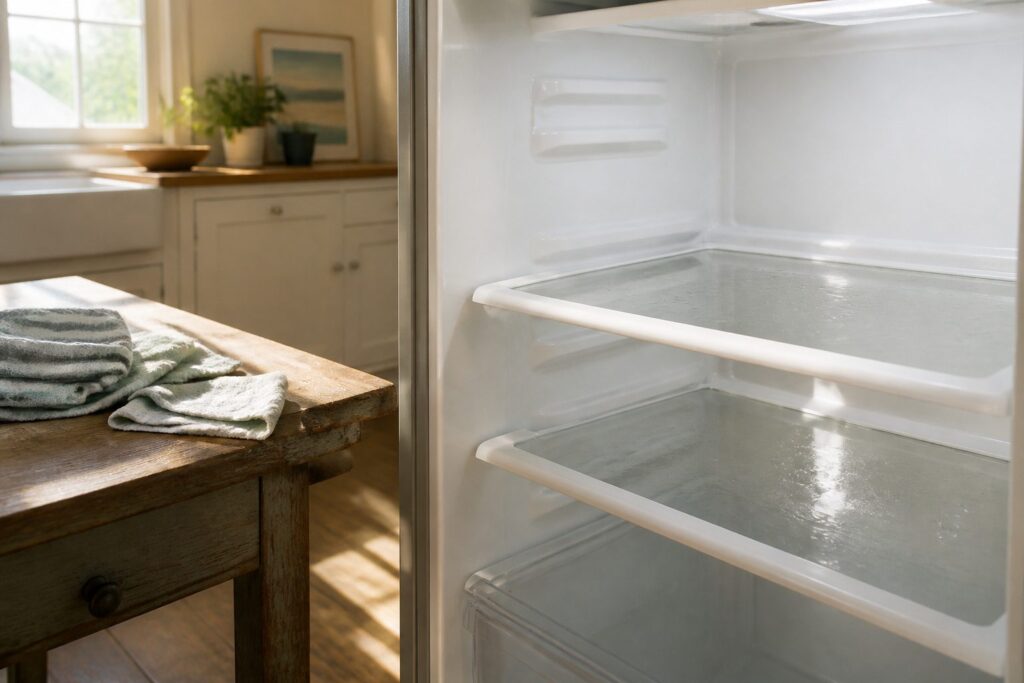
Clean fridge shelves in about an hour with nothing more than warm water, mild dish soap, and a stack of microfiber cloths.
The step most people skip is also the one that cracks glass: letting shelves sit on the counter until they reach room temperature before they touch water.
Ten minutes of patience there keeps a 37-degree shelf from developing the hairline fractures that start at an edge and spread.
1. Empty and Prepare
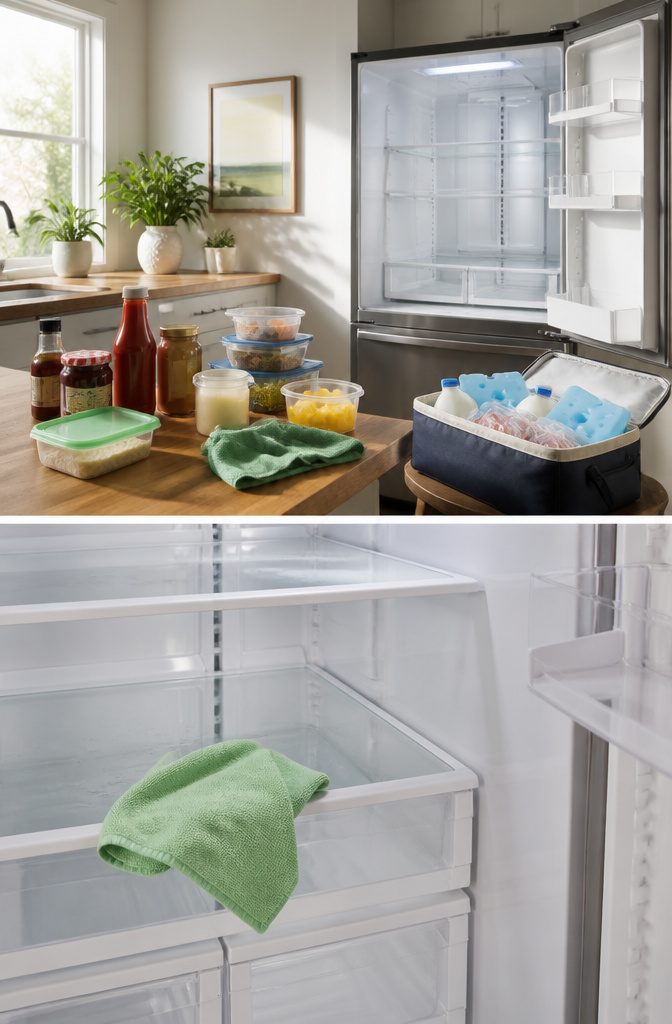
Power down the refrigerator before you start, either by unplugging it or switching off the cooling if your model allows.
The manual will spell out which route to take, and some units also let you pause the ice maker while you work.
Once the hum quiets, pull everything out.
Perishables go into a cooler with ice packs until you’re ready to restock. As you sort, read dates and toss what’s expired now rather than later.
The sticky jam jar or crusty ketchup bottle does not belong back on a clean shelf, so rinse the residue off under warm water and wipe it dry.
If gunk has collected around a cap seal, pop the lid off and wash it in the sink. A damp microfiber cloth run across the bottom of every container catches the film you might miss otherwise.
2. Remove Shelves and Bins
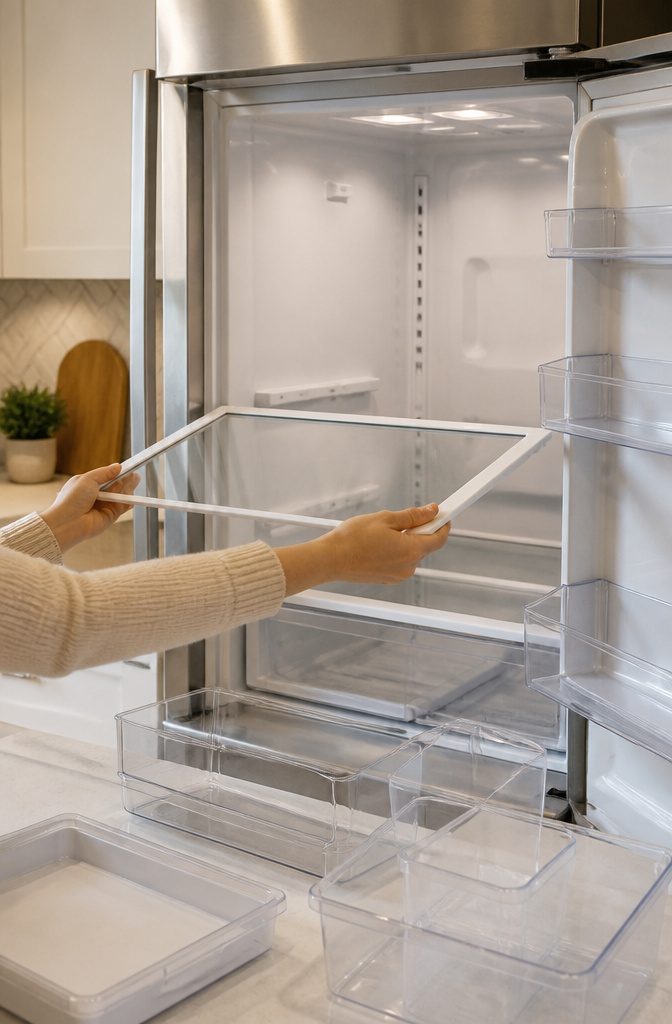
Pull everything out of the fridge that comes loose: shelves, crispers, dairy bins, the door compartments, the egg tray if yours is removable.
The manual that came with the fridge tells you which pieces lift straight up and which need a tilt or a tab press, and that order matters more than you’d think on some models.
I skipped the manual once on a rental unit and spent ten minutes wrestling a shelf that only needed a half-inch lift before it slid free.
Glass shelves need a minute of patience. The temperature jump from a 37-degree fridge to a 70-degree kitchen is enough to stress the glass if you rush it straight to hot water.
Let them sit on the counter until they feel neutral to the touch; ten or fifteen minutes usually does it, and that wait is what keeps the shelf from developing the hairline cracks that start at an edge and spread.
Handle them flat, not by one corner, and set them somewhere they won’t get knocked while you move on to the interior.
3. Wash Removable Parts
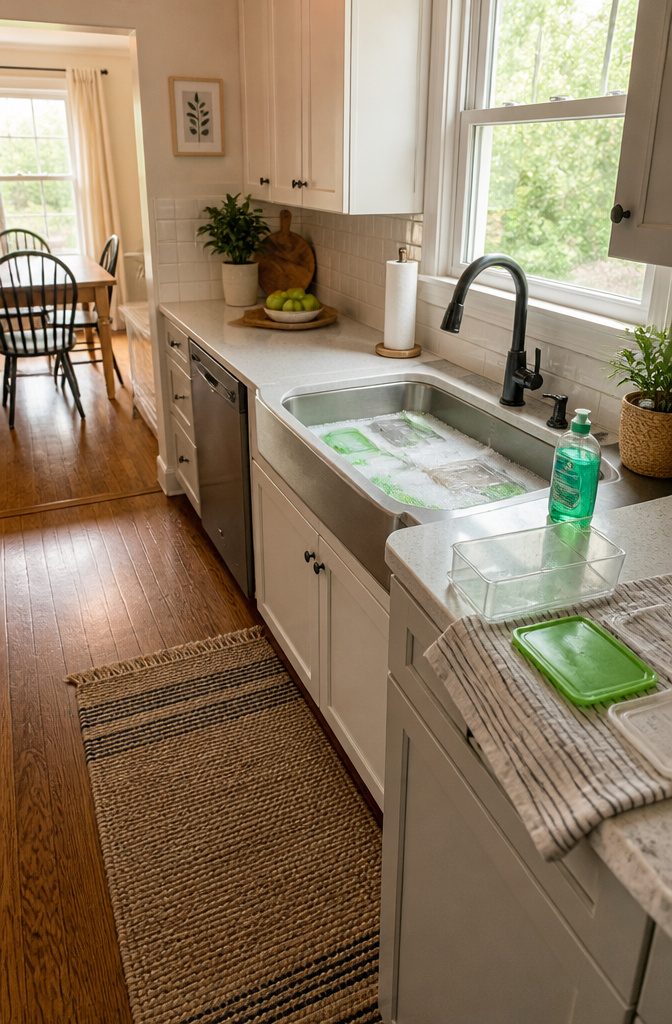
Warm water and mild dish soap handle most of what fridges collect. Go easy on cold glass with hot water; shelves crack straight down the middle from the temperature shock.
I fill the sink or a bin with water that runs comfortable on my wrist, add a squirt of whatever’s by the stove, and let the pieces soak if they’ve got dried syrup or leaf rot stuck to them.
Drawers that won’t fit in a smaller sink get sprayed down where they sit, though it takes longer to rinse and you miss the soak.
Shelves go in first, then bins, then the drawers that catch the worst of the vegetable drawer gunk.
For spots that soap won’t touch, a baking soda solution left for a few minutes and a gentle scrub do the work without scratching the plastic.
Rinse until the water runs clear; soap residue sours fast in cold air. Dry everything with a lint-free towel before it goes back, because wet surfaces grip dust and hair the second they slide home.
I learned that reinstall step the slow way: a damp drawer left in a running fridge turned faintly musty by Tuesday.
4. Clean Interior Surfaces and Seals
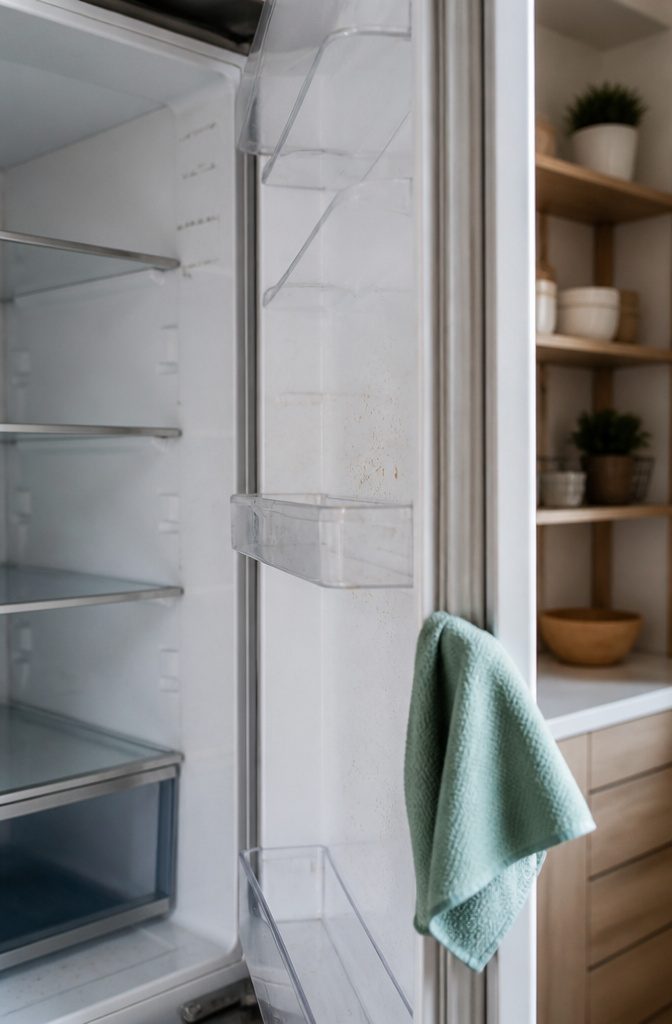
A spray bottle of warm water and a few drops of dish soap is all the chemistry this job needs.
Microfiber cloths pick up residue instead of pushing it around, so I keep one damp for wiping and another dry for finishing.
The walls, ceiling, and door liners get a light pass with the damp cloth, just enough to lift splatter and dust without soaking the seams or letting water drip down into vents.
The door gasket needs its own minute of attention.
Those rubber folds hide crumbs and stickiness that will turn into mold if they stay wet, so I run the cloth gently between the ridges, then follow with a dry towel immediately after.
A tight seal keeps the cold air where it belongs and the electric bill from climbing.
For lingering smells, a second pass with diluted white vinegar works, but it needs its own rinse with clean water and thorough drying before the door closes.
5. Reassemble and Restock
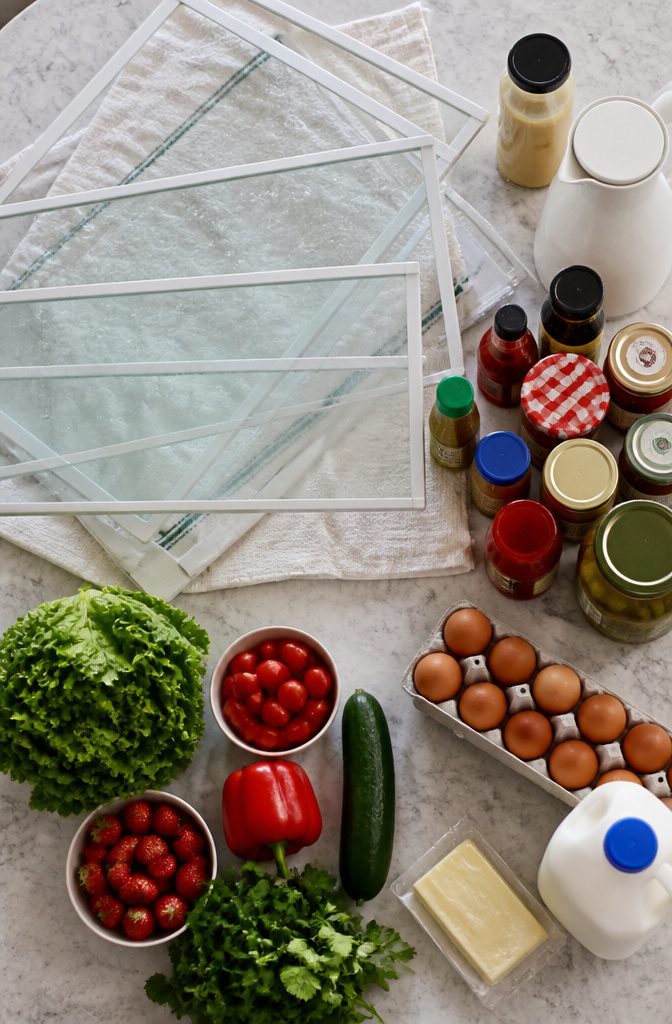
Wet shelves sliding back into place defeat the whole afternoon’s work. I set mine on a bath towel in the living room for a solid hour, then flip them and wait again.
The gasket grooves and shelf tracks need the same patience; a damp microfiber cloth run through each channel, then another dry pass, takes care of it.
Everything must be bone dry before a single jar goes back.
Restocking is where the clean either lasts or doesn’t. I group like with like: dairy together, condiments on one shelf, raw vegetables in the crisper.
Vertical space between items matters more than I used to think; air needs to move if the fridge is going to maintain even temperature without working overtime.
The bonus is that grouped food is faster to pull out next time, which means the shelves stay cleaner longer.
6. Final Checks
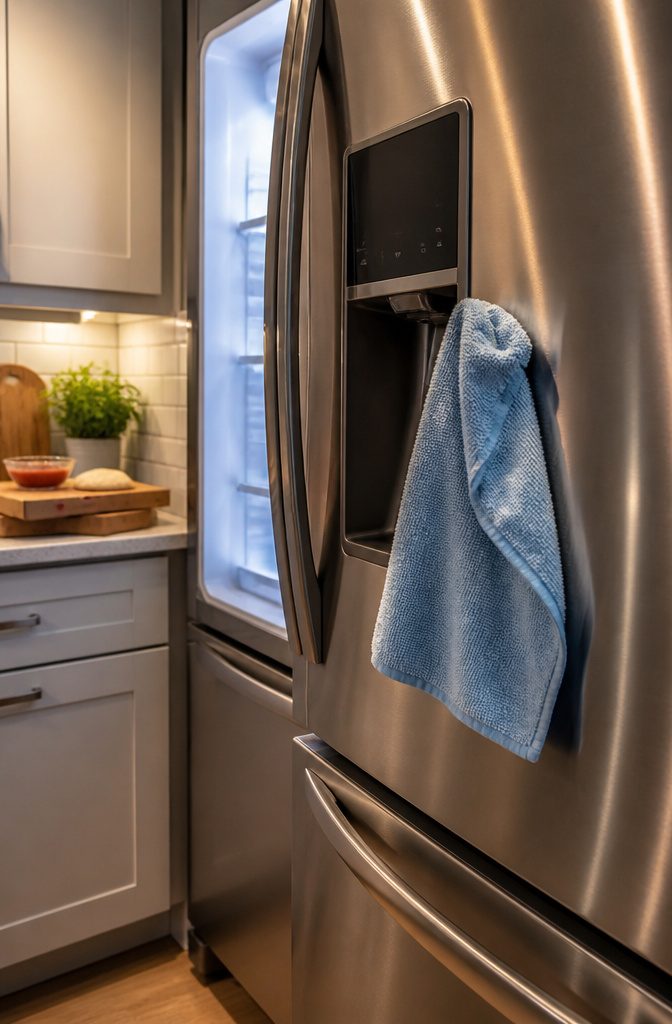
The control panel and dispenser areas are the last surfaces to touch, and the easiest to damage. A barely damp cloth is the right tool here; anything wetter risks moisture seeping into electronics.
Spraying cleaner directly onto those components is the mistake that shortens a fridge’s life, so the product goes on the cloth first, then the cloth goes to the surface.
Once everything is wiped and dry, restore power and watch for the interior lights and cooling to resume as expected.
The compressor should kick in within a few minutes, and the display, if there is one, should light up without error codes.
If something does not come back online, the issue is usually a door left ajar or a shelf pressing against a switch, not the cleaning itself. Checking now saves the discovery of warm milk tomorrow morning.
What to Use
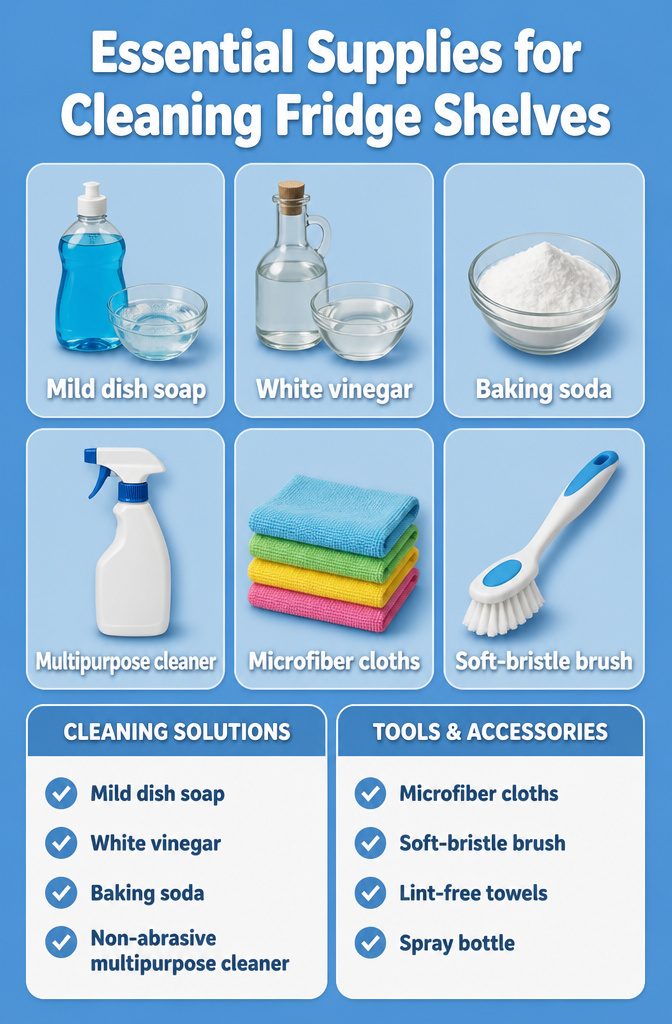
I keep three things by the fridge now: a spray bottle, a soft brush, and a stack of microfiber cloths. The rest lives under the sink, ready when the drip trays start to smell.
- Mild dish soap and warm water handles the weekly wipe-down without leaving residue that changes how butter tastes.
- White vinegar, diluted one-to-one with water, cuts the grease that soap won’t touch. The acid breaks down grime and keeps the cleaner food-safe.
Vinegar is my go-to cleaning agent for this job. The acid breaks down grease and grime, and when mixed with hot water in a spray bottle, it becomes a food-safe cleaner that’s perfect for any gunk that might have accumulated on refrigerator shelves.
That food-safe part matters more than I used to think; you’re spraying where uncovered cheese and raw vegetables sit.
- Baking soda at one tablespoon per quart of warm water sits in reserve for odor control, not scrubbing.
- Non-abrasive multipurpose cleaner works if it’s ammonia-free, though I reach for soap first.
- Microfiber cloths dry the surface without lint. A soft-bristle brush gets into gasket folds where crumbs turn black.
- Lint-free towels finish the job so no fibers stick to damp glass.
Most plastic bins can go through the dishwasher on the top rack once they hit room temperature. Glass shelves should stay out; the temperature shock from a hot cycle to cooler air can crack them where you stand.
How Often
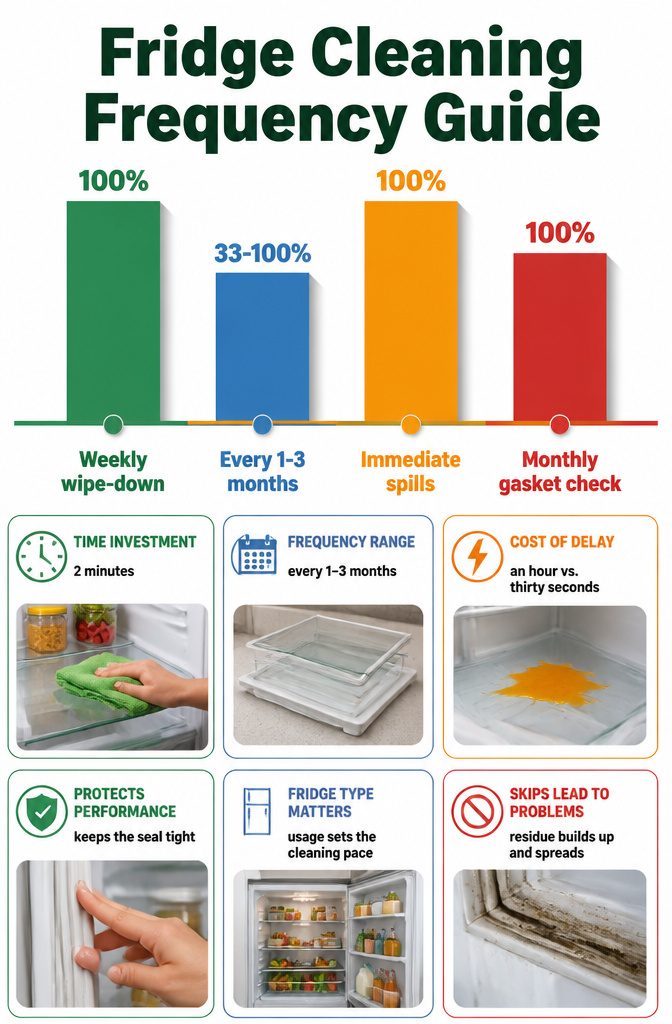
A quick wipe-down of shelves, handles, and any visible drips belongs on the same weekly rotation as taking out the trash.
It takes two minutes if the cloth is already in your hand, and it keeps sticky residue from curing into something that needs a chisel.
The deep clean, where shelves come out and the interior gets real attention, stretches to every 1–3 months depending on how hard the fridge works for you.
A household that cooks daily and stores lots of unpackaged produce sits at the one-month end; a second fridge holding mostly sealed drinks can coast toward three.
Spills are the exception to both schedules. Juice, pickle brine, or that container of soup that tipped on Sunday night all get wiped immediately, even if you just cleaned yesterday.
Let them sit and they bond with the shelf surface, then migrate to the gasket, then cost you an hour instead of thirty seconds.
The same sources that suggest the 1–3 month deep-clean interval also note that checking the door gasket monthly for debris keeps the seal tight and the motor from running overtime.
I fold that into the weekly wipe-down; the gasket is right there, and a finger run along its edge takes no extra tools.
What to Avoid
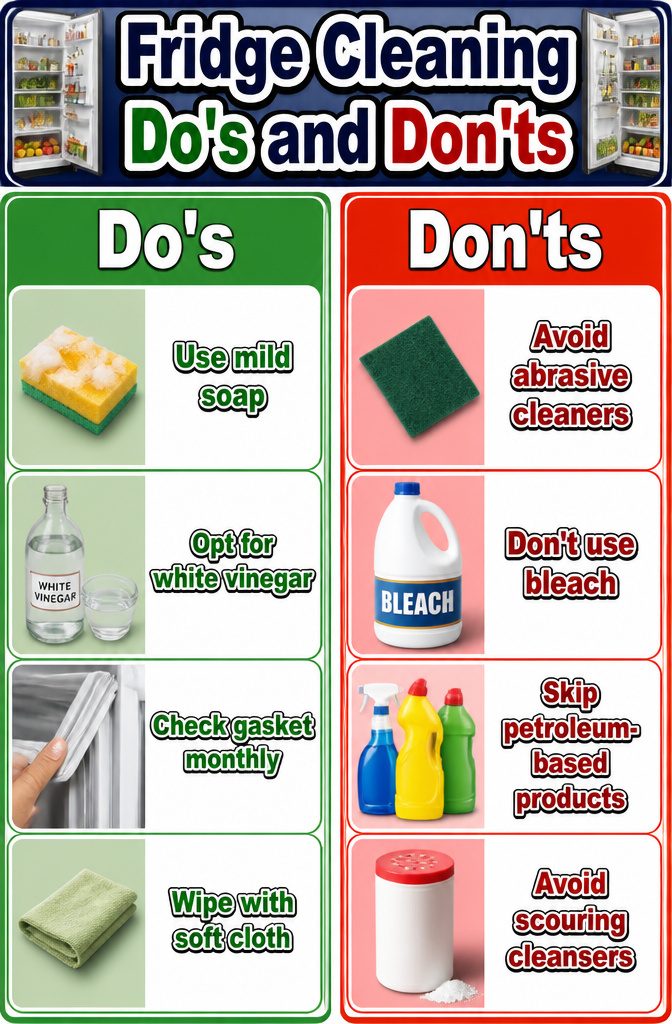
Abrasive cleaners scratch the plastic on shelves and door liners the first time you use them, and the damage is permanent.
The same goes for bleach and ammonia-based products on rubber gaskets. Those seals need to stay supple to keep the cold in, and harsh chemicals dry them out and cause cracking.
The one-third cup bleach per gallon of water ratio floats around as a disinfecting mix, but it is not standard fridge cleaning for a reason.
That concentration still degrades plastic and gasket rubber, and the residue risk next to open food is not worth it for a routine wipe-down.
Stick with warm water and mild dish soap, or diluted white vinegar for odors. Whirlpool and Samsung both flag the same list: window sprays, scouring cleansers, concentrated detergents, bleaches, and anything petroleum-based.
The surface damage is not theoretical. On a cold glass shelf, the wrong cleaner plus a temperature swing can even stress the glass itself.
Tough Residues and Non-Removable Shelves
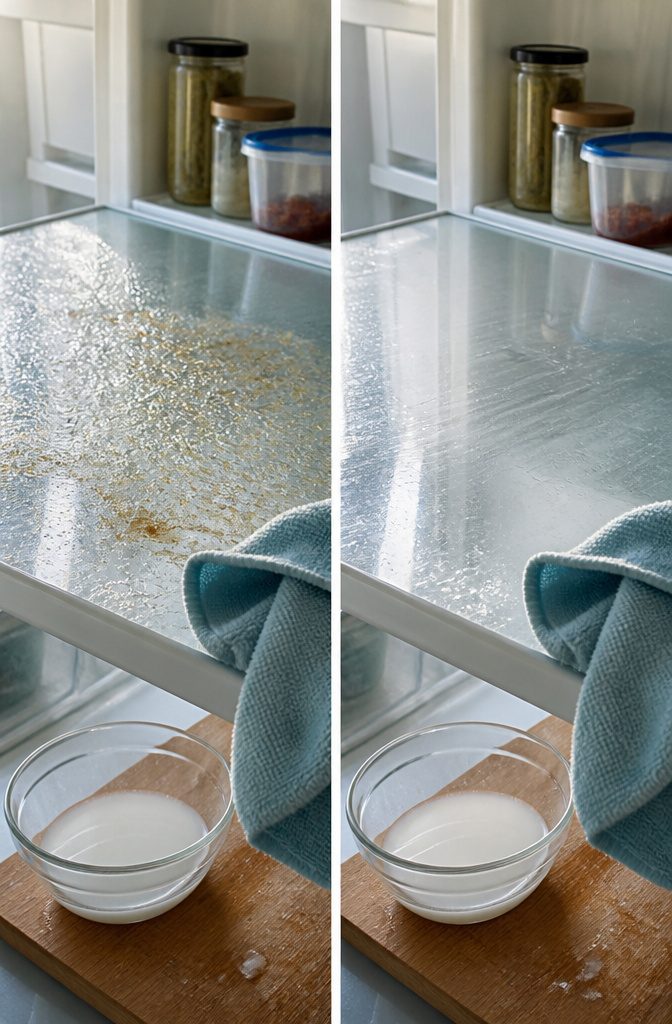
Dried-on grime fights back against a wet cloth, so a baking soda solution needs a few minutes to sit before you scrub.
I mix mine loose, about a tablespoon to a cup of warm water, and lay a soaked paper towel over the spot so it stays wet while I work on something else.
The paste versions work too, but they dry out faster than you would think and you end up adding water anyway.
For shelves that do not lift out, spraying cleaner directly into the fridge is a bad move.
Liquid pools in seams and under gaskets where you cannot see it, and even food-safe vinegar solutions leave a smell behind if they sit.
The better play is to spray or pour onto a cloth first, then wipe the surface. Microfiber grabs residue without pushing it around, and a slightly abrasive cloth like an Euroscrubby handles the stuck spots without scratching glass.
You will still need to rinse with a second damp cloth, and dry after, because any film left behind becomes tomorrow’s sticky layer.
Steam cleaning gets mentioned occasionally for heavy sludge, and it does loosen things fast.
Hot vapor condenses everywhere, including vents and housing you cannot reach to dry. I keep it as an occasional option for a truly bad corner, not the standard approach.
Frequently Asked Questions
What spray can I use to clean the inside of the fridge?
Warm water with a few drops of mild dish soap is all you need for routine cleaning. For grease or odors, dilute white vinegar one-to-one with water.
Both are food-safe and leave no residue that changes how food tastes. Avoid window sprays, scouring cleansers, concentrated detergents, bleaches, and anything petroleum-based; manufacturers like Whirlpool and Samsung flag these as damaging to surfaces and gaskets.
Can I put bins in the dishwasher?
Most plastic bins can go on the top rack once they reach room temperature. Glass shelves should stay out; the temperature shock from a hot dishwasher cycle to cooler air can crack them where you stand.
Handwashing is the safer route for everything, especially shelves with under-shelf LED lighting, which are not dishwasher safe at all.
How often should I clean my fridge?
Wipe down shelves, handles, and visible drips weekly as part of your regular routine.
Deep clean with shelves removed and the interior washed every 1–3 months, depending on use: daily cooking with lots of unpackaged produce pushes you toward monthly, while a second fridge holding mostly sealed drinks can stretch toward 3.
Spills are the exception; clean those immediately no matter when you last cleaned.
How can I prevent sticky residue from accumulating on my refrigerator shelves?
Wipe shelves weekly with a damp microfiber cloth while the residue is still fresh; two minutes of prevention keeps it from curing into something that needs a chisel.
Group like foods together and leave vertical space between items so air circulates and the compressor does not work overtime, which also makes future wipe-downs faster.
Check container bottoms with a damp cloth before restocking, since the film you miss there transfers straight to clean shelves.
Can you use Windex to clean refrigerator shelves?
No. Window sprays are on the list of products Whirlpool and Samsung both warn against; they can damage plastic surfaces and rubber gaskets.
Stick with warm water and mild dish soap, or diluted white vinegar for odors. The same rule applies to scouring cleansers, concentrated detergents, bleaches, and petroleum-based products.
Can I use Dawn to clean my fridge?
Yes. Any mild dish soap, including Dawn, works for washing removable shelves and bins and for wiping interior surfaces.
Mix it with warm water, not hot, especially on glass that has been sitting in a cold fridge; temperature shock cracks glass straight down the middle.
Rinse until the water runs clear and dry thoroughly, since soap residue sours fast in cold air.