I transformed my bare, stained garage concrete into a showroom-worthy floor that stops neighbors mid-step during open houses. You can pull this off in one weekend if you follow this exact sequence: prep test, deep clean, primer bond, decorative top coat with flakes, and a cure period that requires patience but pays off in years of hot-tire-proof durability.
First, I taped plastic to my slab for a full day to trap moisture. When it came up dry, I knew we were in business. Next, I scrubbed every oil spot with degreaser until the rinse water ran crystal clear. My back screamed, but the concrete was properly prepared.
Then came the primer, mixed slowly with a drill paddle and rolled in ribbons toward the door so I wouldn’t paint myself into a corner. Once it shifted from milky to glass-clear, I rolled the top coat and broadcast flakes to full saturation until it looked like a confetti explosion. I waited seven full days before driving on it. My tires don’t lift the finish now.
The fans whirred, the windows cracked, and I paced while the floor cured. That hard cure gave me a floor that resists tire marks and staining for years. Your garage deserves this upgrade. The improved durability and appearance make the investment worthwhile.
Is Your Concrete Garage Floor Suitable for DIY Epoxy?
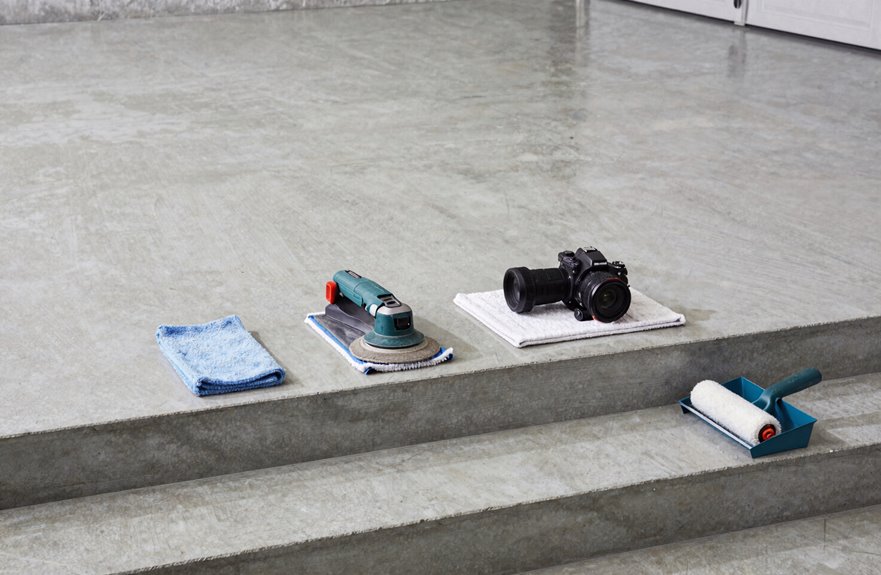
Why exactly do we rush into coating our garage floors without asking the hard questions first. Your concrete needs to be in solid shape: no peeling paint, no bare patches, no sneaky moisture hiding inside. Tape a plastic sheet down for 24 hours; if it’s damp underneath, do not coat yet. Surface preparation separates successful installations from floors that peel prematurely. You’ll need warm, dry days with humidity below 70%, or the coating will fail. Hot-tire pickup can ruin finishes because improper surface prep was skipped. A quality garage floor finish requires proper conditions and thorough preparation from the start.
Clean and Degrease the Concrete, Then Dry It Completely
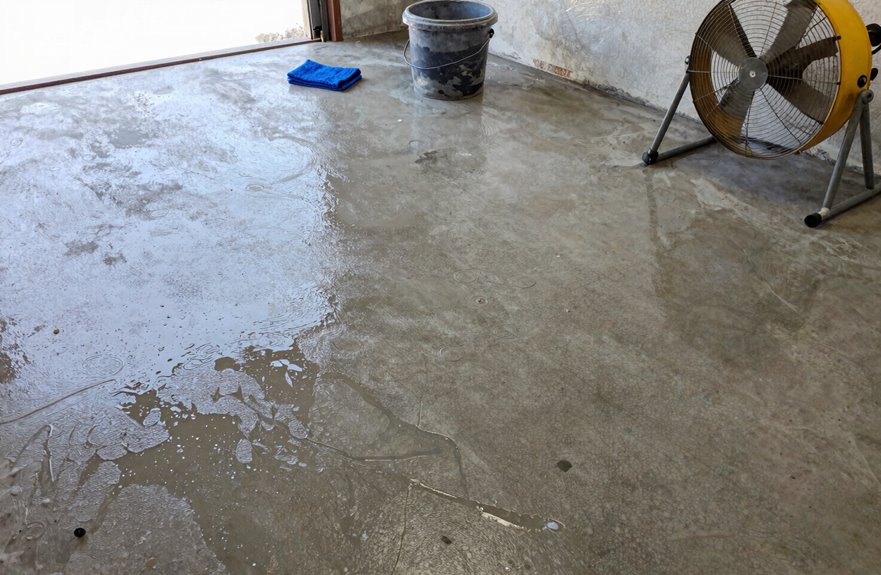
How exactly do we expect a gorgeous garage floor to stick when we’re coating over years of oil splatters, mystery grime, and that weird stain from the 2019 brake fluid incident? It won’t. We’re doing this together, step by step.
First, sweep everything out. Then, the real work begins:
- Mix your Corotech Oil & Grease Emulsifier exactly as the label says. Eyeballing it won’t work.
- Scrub those stains thoroughly, then rinse until the water runs clear with no shortcuts.
- Let that concrete dry completely. Bone-dry conditions with humidity under 70% and temperatures above 50°F are essential, because moisture prevents proper adhesion.
Degreasing isn’t glamorous, but it’s the foundation you need. Your floor is ready when you’re satisfied with its cleanliness.
Apply a Bonding Primer Built for Garage Floor Systems
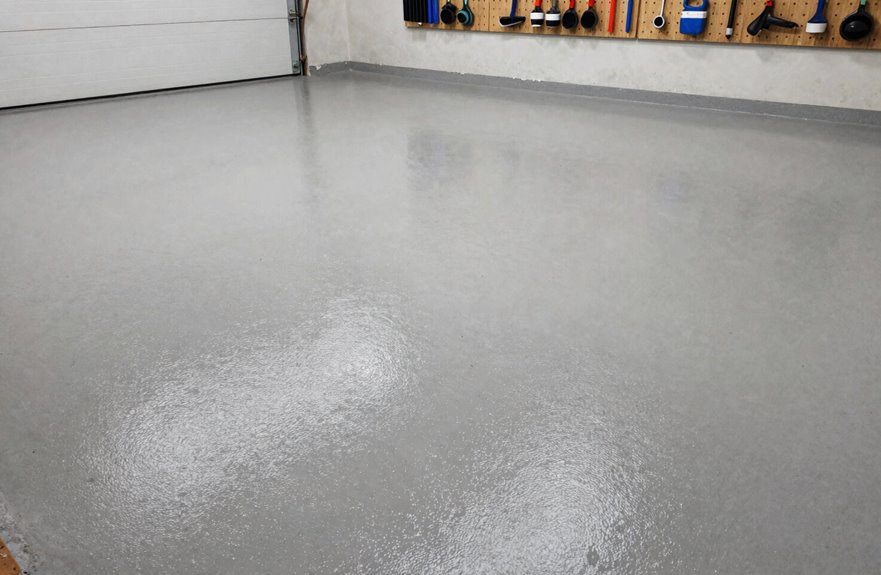
Where do we go after that concrete’s squeaky clean? We grab a bonding primer built for garage floors, and this step significantly improves adhesion and durability. I mix Part A and B per the specs with no guessing, then drill-mix slowly for 3-5 minutes. Double-bucket it so everything’s truly incorporated. Ribbon that primer across, cut edges with a brush, squeegee toward the exit.
Here’s the quick breakdown:
| Task | Time | Watch For |
|---|---|---|
| Mix Parts A & B | 3-5 min | Exact ratio, no shortcuts. |
| Double mix | 2-3 min | Smooth consistency |
| Apply primer | Varies | Ribbon pattern, even coat |
| Dry time | 4-7 hrs | Milky white-yellow to clear |
Low humidity days accelerate drying time significantly. The color change from milky white-yellow to clear indicates the primer has cured enough to proceed with the next application step.
Choose Your Finish: Roll the Top Coat and Broadcast Flakes
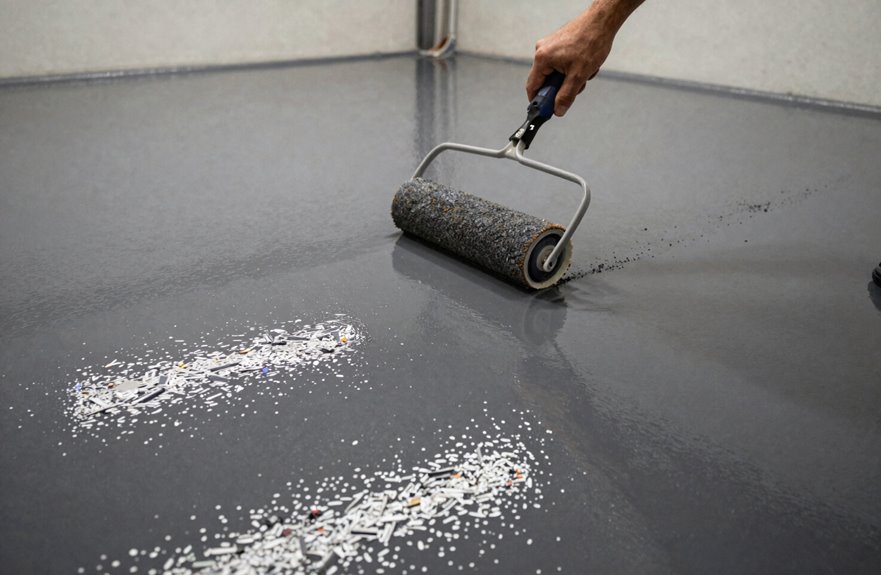
Once that primer’s turned crystal clear, you’re standing on something that looks like a real floor. Now we get to the fun part, where this gray slab actually becomes yours.
I mix my top coat per the Technical Data Sheet, roll it in ribbons working toward the exit, and avoid trapping myself in a corner like some rookie. You’ve got finish choices: INSL-X Garage Guard Semi-Gloss for that understated flex, or Corotech Gloss Amine Epoxy if you’re feeling bold.
- Pick your sheen. Lower gloss means less slip, which matters when you’re hauling stuff in January.
- Broadcast those decorative flakes to full saturation. You’re talking granite-dense with no sparse patches.
- Add anti-slip aggregate if you want traction that actually grips your boots.
Your garage, your rules.
Wait for Full Cure Before Driving on Your Finished Floor
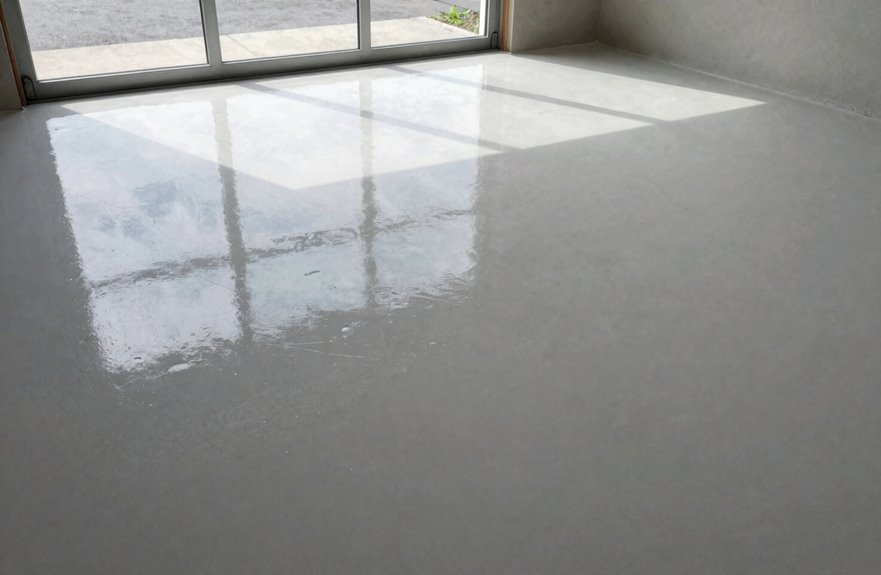
Why ruin all that gorgeous work now. I know you’re itching to park there. I’ve paced that same garage floor, coffee in hand, staring at my masterpiece. Full cure takes 7–10 days before driving on it, and I learned that lesson the hard way with permanent tire marks.
For the first 24–48 hours, don’t even think about dragging that toolbox across. I wait two full days before walking items back in, and I keep fans running, windows cracked. Humidity extends dry time significantly.
Your top coat needs that week-plus to reach maximum hardness and real durability. Rushing it compromises the final result. That garage floor deserves patience, and the investment in waiting pays off with a finished surface that lasts.