I’ve stripped more walls than I care to count. Scraping paint is messy, tedious work, but when you peel back that last stubborn layer and see clean plaster underneath, the effort pays off. First, I clear everything out, lay down plastic and kraft paper, suit up in my dust mask and gloves, and crank every window open. I learned that lesson after a headache that lasted three days. Then I test for lead with an EPA-approved swab; pink means stop and call the pros without negotiation. Next, I pick my weapon. I use a heat gun for stubborn spots, chemical stripper for thick layers, or just elbow grease and a sharp scraper held at 45 degrees. I work small sections, feather those edges with steel wool, and neutralize everything so my next coat won’t fail. Finally, I skim patches with joint compound, sand with 240-grit on a pole until it’s buttery smooth, and prime the whole room with multiple coats, because I’m not doing this again. The trick is working smart, not just hard. I’ve got the gouged drywall and chemical burns to prove what happens when you don’t. Stick around, and I’ll show you exactly how to dodge my mistakes.
Prep Your Room for Paint Removal
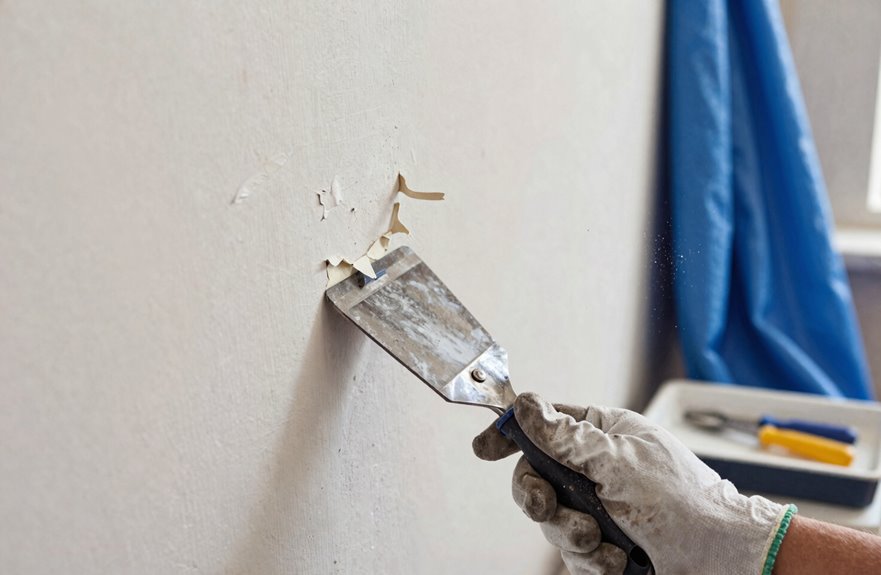
Before you begin paint removal, clear everything from the room, including items you might want to keep, and lay down plastic sheeting topped with kraft paper. Stripper residue can damage floorboards, so this protection is essential.
Next, put on your PPE: dust mask, safety glasses, and gloves. Paint removal is messy work. Protect your clothing and lungs by opening every window and running fans to create adequate ventilation. Fumes require serious air circulation.
Finally, scrub the walls with hot soapy water. Grime prevents effective paint removal.
Test for Lead Before You Strip
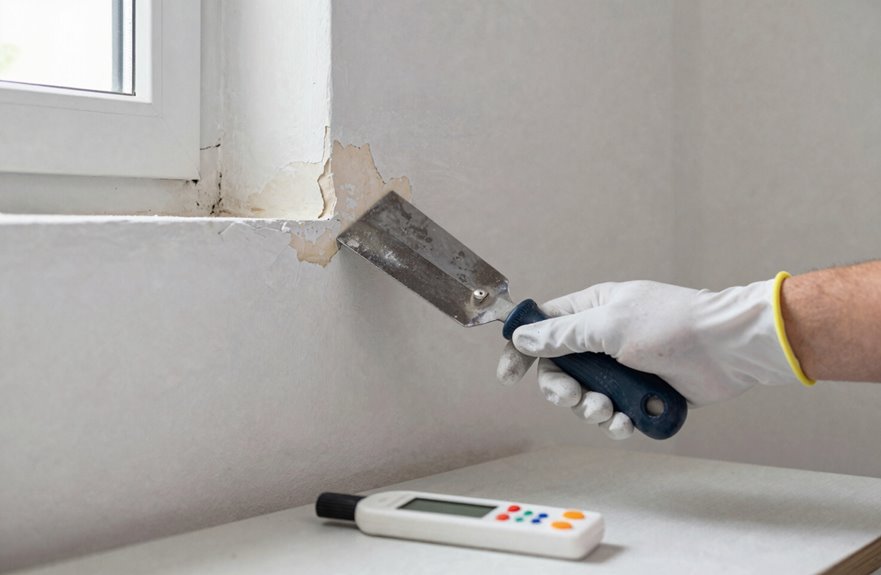
Once your walls are scrubbed and your room’s sealed up like a crime scene, grab your lead test kit. Using EPA-approved swabs that turn pink when vintage walls contain toxic lead is the essential first step. Testing is not optional; it’s a requirement for safe renovation work. Skipping this step means gambling with dust that can cause permanent lung damage. If the strip turns red, stop all work and call a certified lead abatement professional. Containment is critical because lead doesn’t accommodate your timeline. Even with negative results, keep wearing a dust mask, as lead safety has no shortcuts.
Pick the Best Way to Scrape Paint From Your Walls
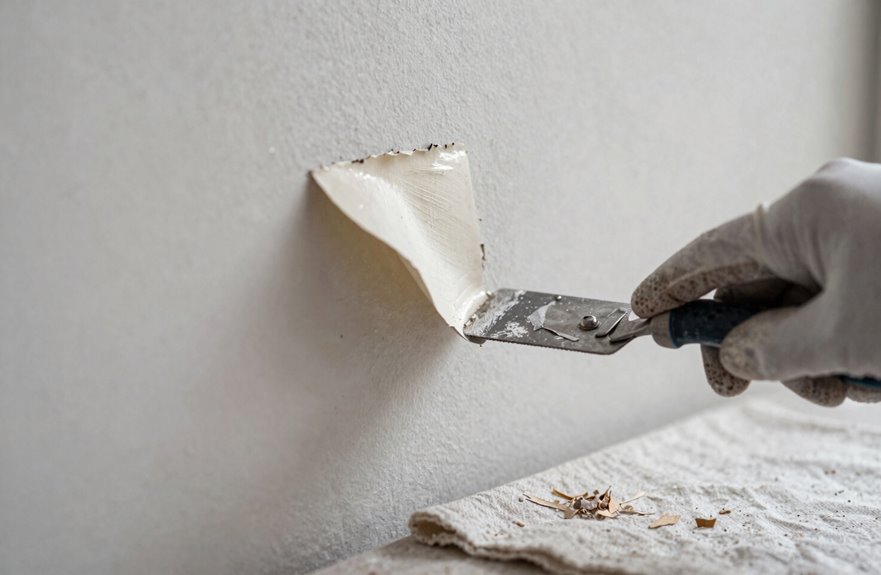
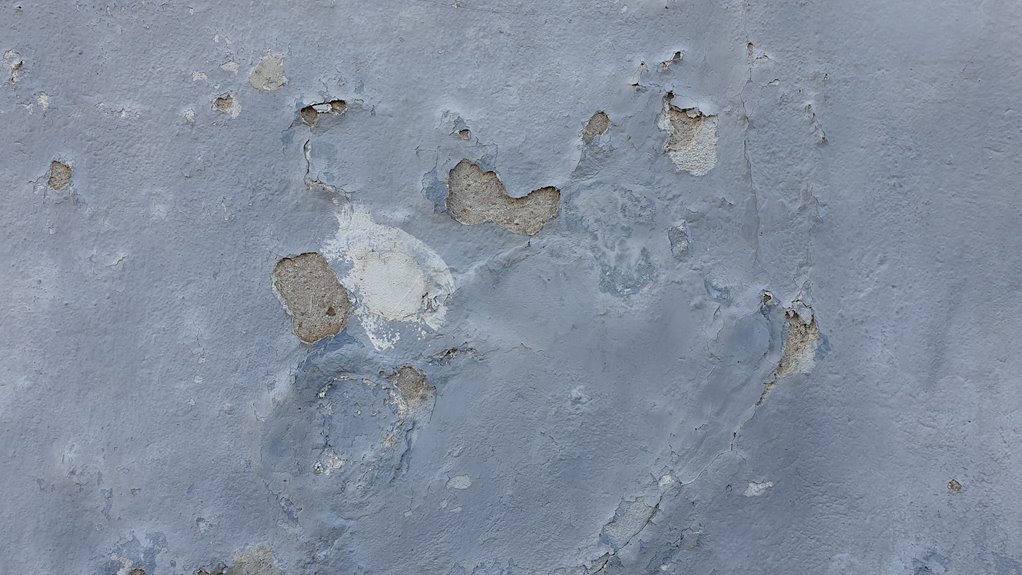
How do you tackle a wall that looks like it’s molting? I’ve been there, staring at peeling paint, wondering where to even begin.
When stripping old layers, I’m reaching for my scraper, that angled tool held at 45 degrees, ready to lift softened paint without attacking the plaster beneath. For flat surfaces with serious peeling, I’m working small, sharpening my scraper frequently since dull blades just make you work harder.
After I’ve scraped, I’m wiping with rags, buffing edges with steel wool like I’m polishing something precious. Stubborn spots require reapplying heat and attacking again with long, confident strokes. Then I’m neutralizing properly because skipped prep means ruined paint later, and nobody wants that outcome.
Choose your method and commit fully to the process.
Remove Paint With Your Chosen Method
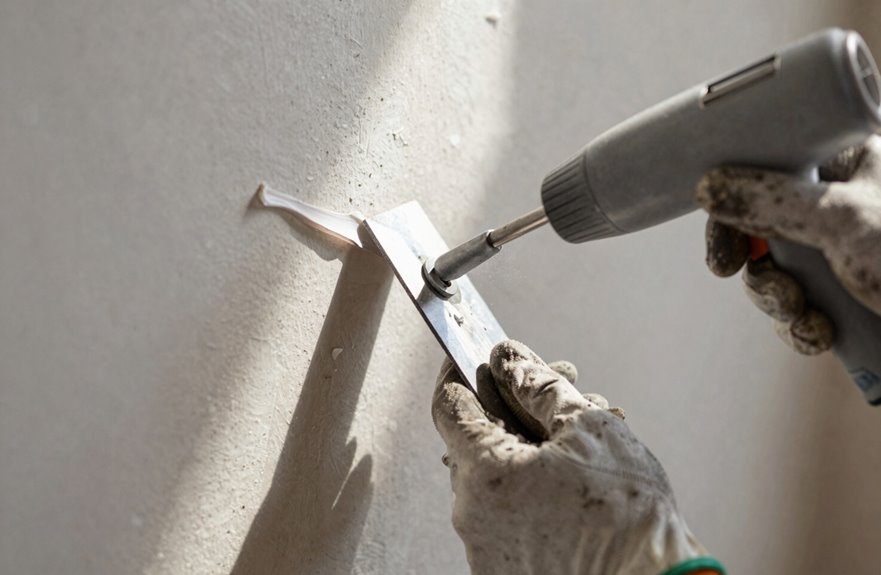
The wall is stripped of options, and I’ve got my gear locked and loaded. Time to make actual progress with these paint stripping methods:
- Heat gun crew: Keep it moving two inches out with scraper poised to peel sections while the paint is hot and pliable, not molten.
- Chemical warriors: Slather that stripper thick, wait for it to work, then scrape the gloop and neutralize after. Note: this will ruin your manicure.
- Manual purists: Work at forty-five degrees with small bites, using sandpaper to feather those edges like a pro. Your shoulders will feel it, but the results are worth the effort.
- Safety always: Wear PPE, cover floors, test patch first. This prevents chemical exposure and accidental plaster damage.
Patch, Sand, and Prime for a New Coat
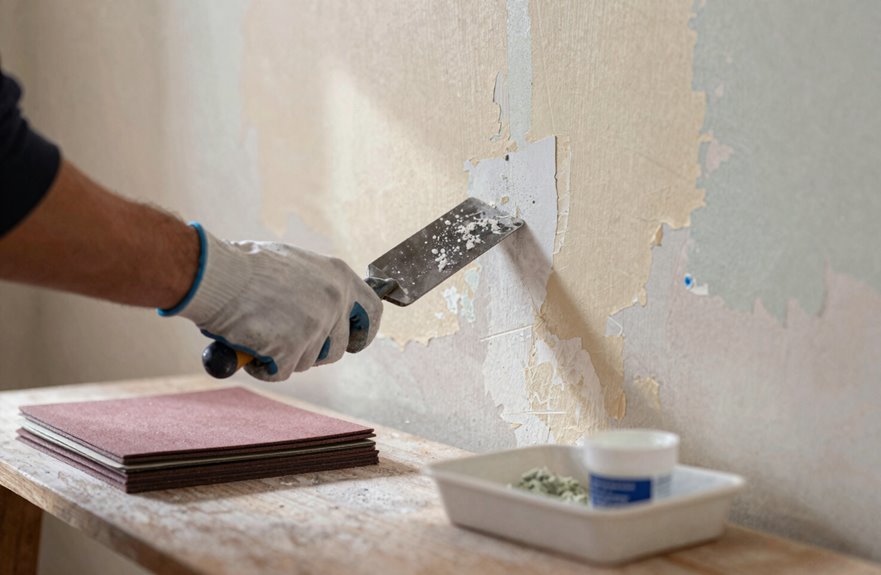
Bare walls, meet your glow-up because I’m about to turn this stripped-down disaster into something worth bragging about.
First, I skim those peeled patches, then grab my sanding pole. Feathering edges with 240-grit sandpaper in smooth back-and-forth motions until bare spots blend fluently with leftover paint. I fill holes and joints between color shifts, then sand those filled areas plus adjacent red zones to roughen everything for grip.
| Step | Tool/Material | Pro Tip |
|---|---|---|
| Skim patches | Joint compound | Thin layers dry faster |
| Feather edges | 240-grit + pole | Back-and-forth, blend like butter |
| Fill & roughen | Sandpaper block | Scuff red areas for adhesion |
| Prime everything | High-quality primer | Multiple coats banish old color |
Finally, I roll primer across the entire room, sanding between coats if needed. That uniform base ensures my topcoat will actually stick and perform as intended.