
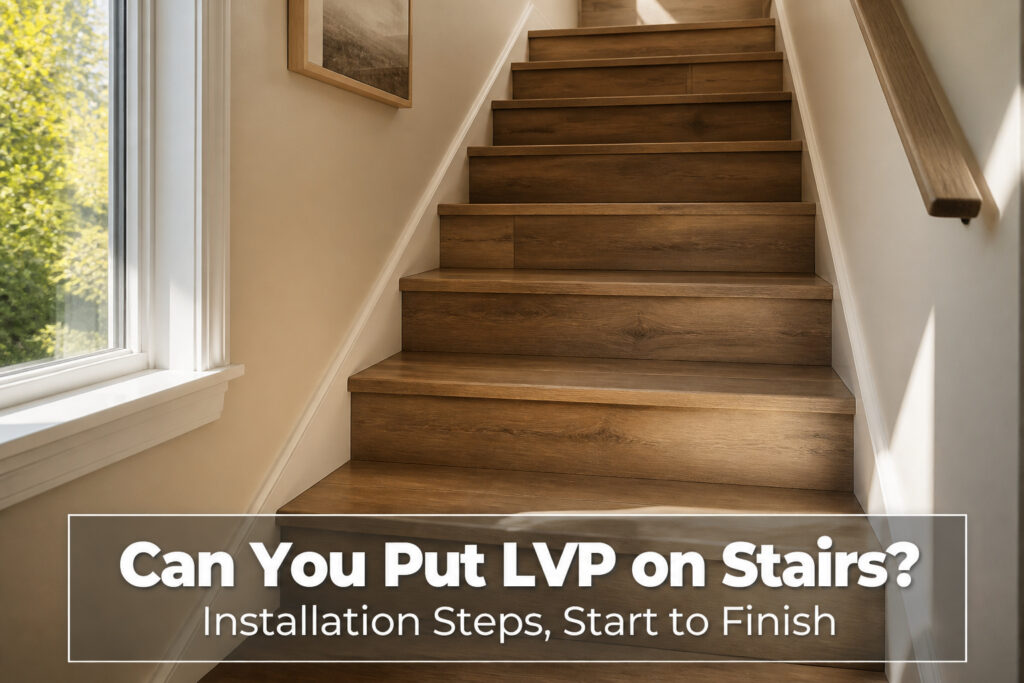
Yes, you can put LVP on stairs, but only as a full-spread glue-down with rigid SPC core planks. WPC cores deform at the tread nose and loosen within months.
Each step runs $50 to $120 installed, and you will need matching stair nosing. Plan for the 48-hour acclimation inside the house before cutting anything.
Can You Put LVP on Stairs?
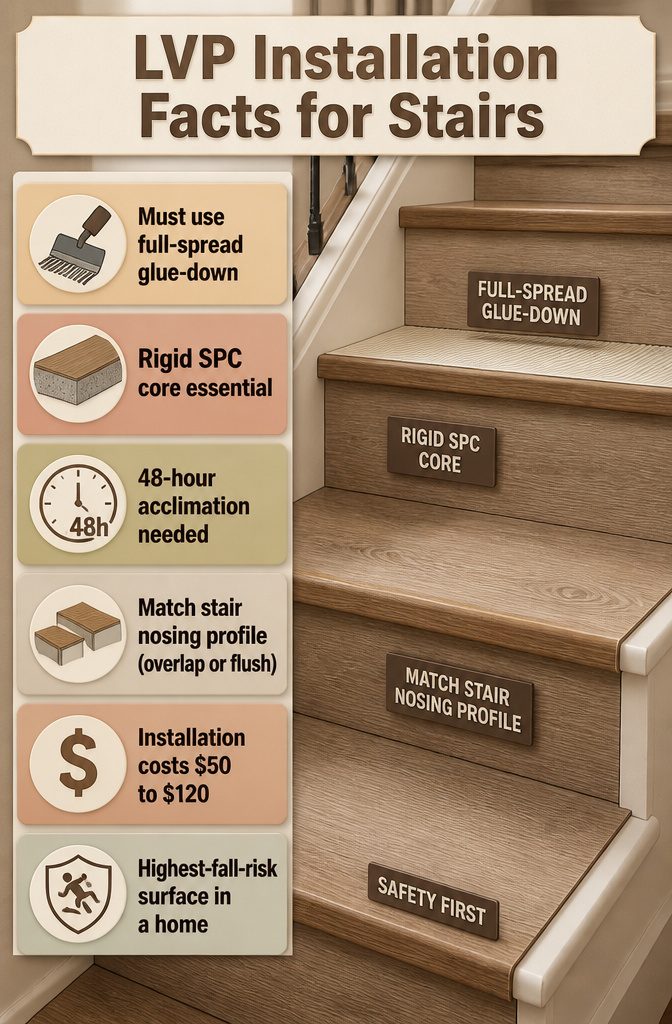
LVP on stairs has to be full-spread glue-down, never floating click-lock, and the plank itself matters more than it does on flat floors.
Rigid SPC core, the stone-polymer composite, is the only type that holds a clean edge when it is cut and wrapped over the tread nose; softer WPC cores deform at that high-wear point and the installation loosens within months.
The stair nosing profile has to match how the tread meets the riser and the plank thickness you are using, either overlap or flush. These pieces are not optional; they finish the edge and take the impact of every footfall.
Plan for the 48-hour acclimation period inside the house before anything gets cut. Each step runs $50 to $120 installed, though stairs are rarely identical and the measuring alone will eat more time than the landing ever did.
Stairs are the highest-fall-risk surface in a home. A loose plank or a rounded edge that catches a heel is not a cosmetic flaw; it is a trip hazard that justifies the extra adhesive and the rigid core both.
1. The LVP That Survives Stairs
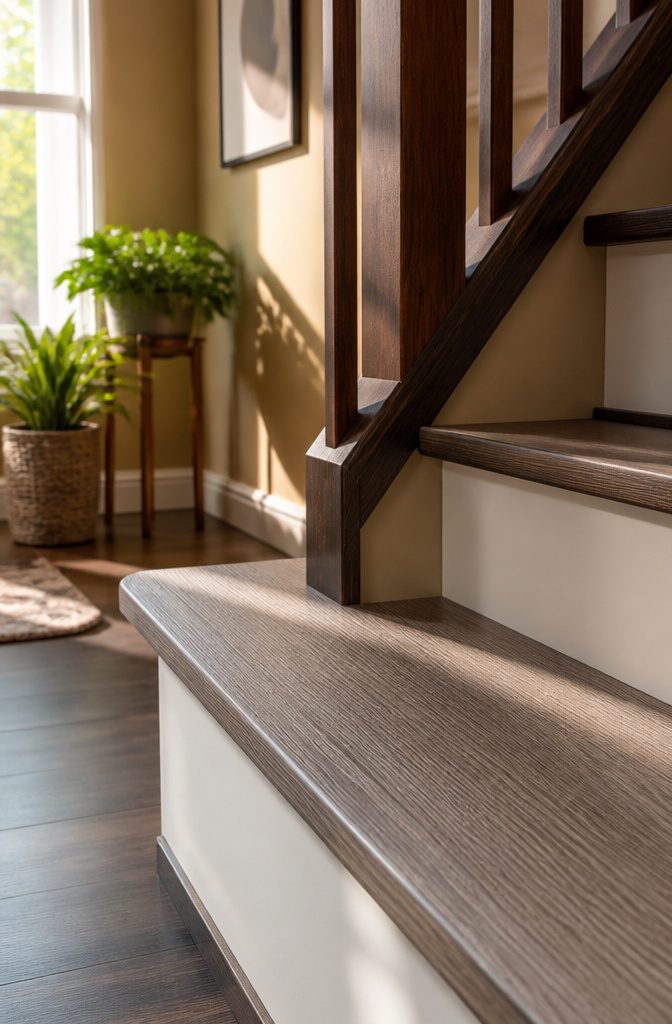
SPC core is what you want for stairs, not WPC. I learned that distinction the hard way after watching a flexible plank sag over a tread nose within six months of installation.
Rigid stone polymer composite holds a clean, supported edge where foot traffic concentrates all its wear into a narrow band. That density also resists the telegraphing you get when softer cores start to show the stringer underneath.
The wear layer is the second filter.
At least 20 mil for stairs, and 12 mil is the hard minimum I would accept on a rental I intended to keep for more than a year. Anything thinner cups and scuffs where the nosing curves.
Surface matters as much as the core. Standard smooth LVP with a gloss finish is slippery under socks, so look for an embossed texture that adds grip without looking like industrial tread.
Buy the matching manufacturer stair nosing from the same collection while you are at it. A cut plank improvised into a nose almost always reads as a color mismatch under daylight from a landing window.
2. Stair Nosing Options
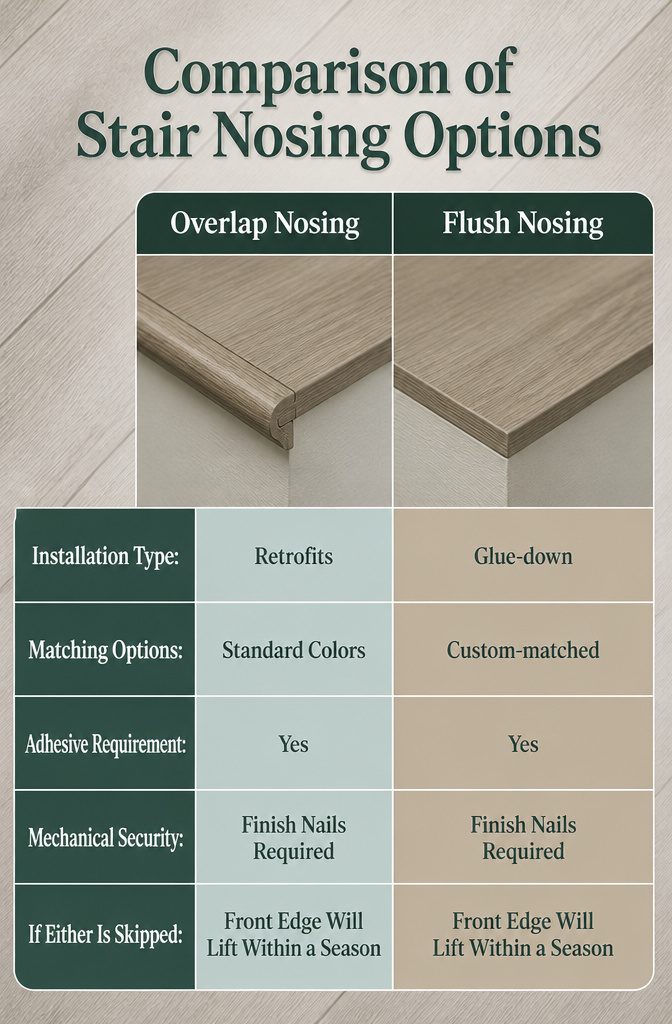
Overlap stair nosing and flush stair nosing serve two very different kinds of installs.
Overlap nosing has a lip that sits on top of the finished tread, which makes it forgiving for retrofits where the existing stairs might not be perfectly uniform or where the LVP is floating rather than glued.
Flush nosing sits level with the plank surface and only works for glue-down installations, though the result looks more built-in.
Most LVP brands offer matching nosing in their standard colors, though the exact shade you pulled from the clearance pile or a discontinued run can be harder to track down.
Custom-matched nosing exists, though it often means ordering through a specialty supplier and waiting weeks.
Both styles need the same mechanical security.
Construction adhesive gets the bond started, but the nosing takes every footfall on the stair, so finish nails are non-negotiable backup while the adhesive cures. Skip either one and the front edge will lift within a season.
3. Measure Every Step Alone
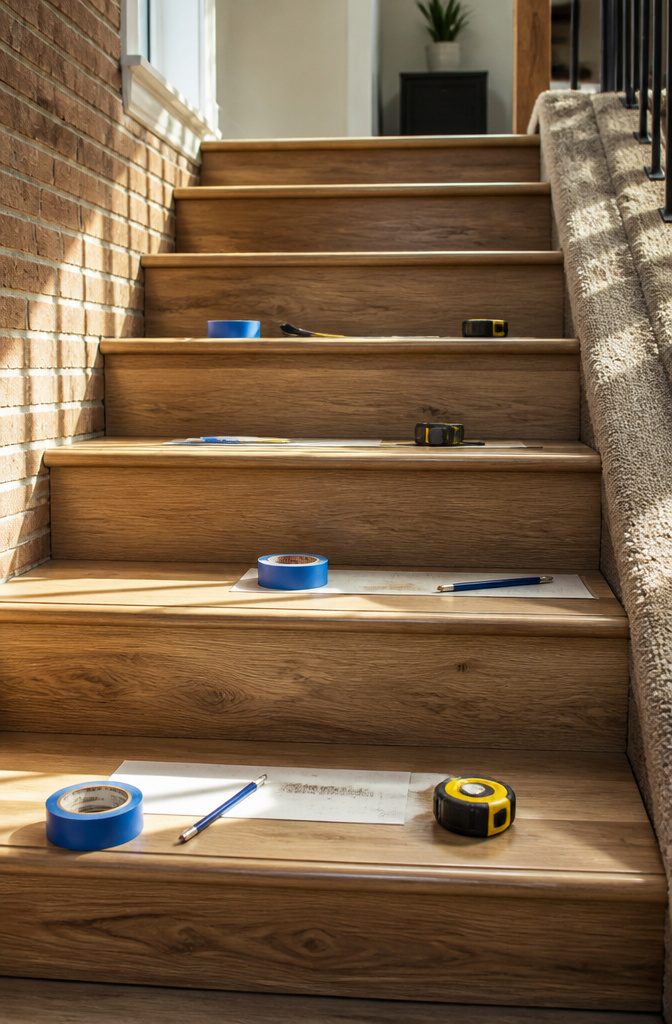
Stairs look uniform from the bottom, but the depth, width, and riser height of each step can vary by a fraction of an inch, especially in older homes.
That gap you assumed would be half an inch, the plank that overhangs by three, the forced cut that wastes a full piece of LVP: all of it starts with one rounded-up measurement applied to twelve steps at once.
The fastest way to lose a morning is mass-cutting from a single master measurement.
A tread that measures 10 and 1/4 inches at the top of the flight can run 9 and 7/8 at the bottom. Risers shift too, sometimes enough that your pre-cut plank leaves a dark line of unfinished subfloor at every third step.
A tape measure and a sharp pencil get the job done. Label every piece with its step number as soon as you pull the measurement: tread depth, tread width, riser height, riser width.
Cut to fit per step. The five extra minutes per stair returns itself in planks you do not throw away and in gaps you do not have to caulk or stare at afterward.
4. Prep and Acclimate
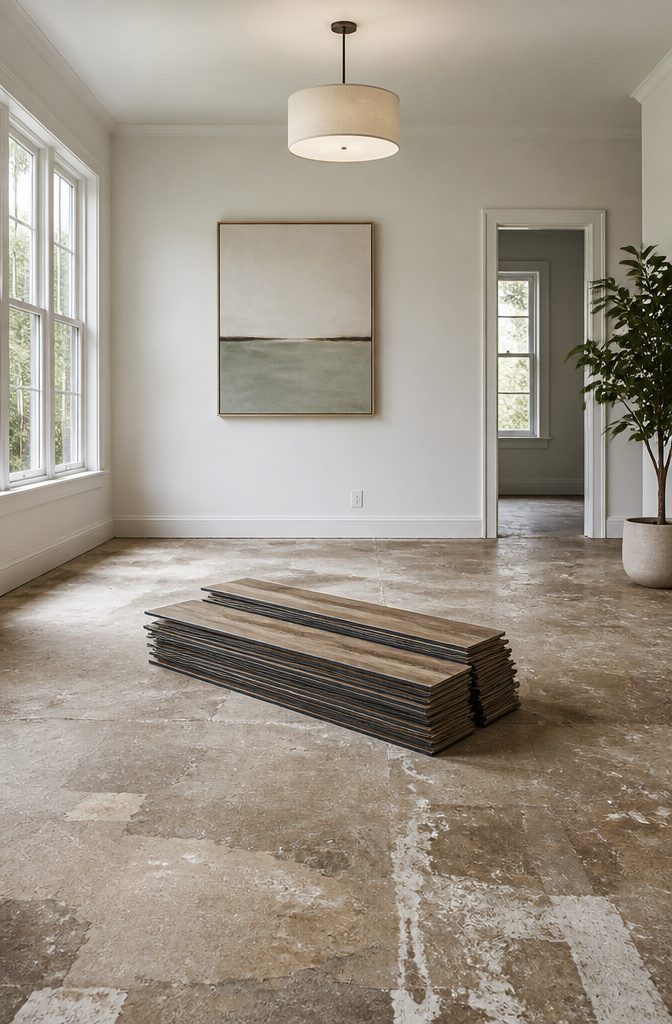
Old carpet hides staples and tack strips that will wreck a flat bond, so the tear-out is not done until the last fastener is out and the treads are bare.
Any loose treads need screws now, before the new flooring goes on; a deflection you ignored at this stage telegraphs straight through LVP.
The surface left behind has to read solid, clean, and dry. Damp subfloors or residual adhesive pimples are the failures that show up months later as popped seams or lifted nosings.
Acclimate the planks in the installation area itself, not the garage, for at least 48 hours. Stacked flat, they need that time to settle to the temperature and humidity they will actually live in.
Planks pulled from a hot truck or an unconditioned garage carry a different dimension in them; I learned that on a previous kitchen install when I rushed the wait and watched the long wall shrink away from the baseboard three weeks later.
On stairs the same shift hits harder because the nosing is locked in place, so every dimensional change stages as a gap or a stress crack.
The two days feel like standing still, but the planks are doing work you cannot shortcut.
5. Risers Before Treads
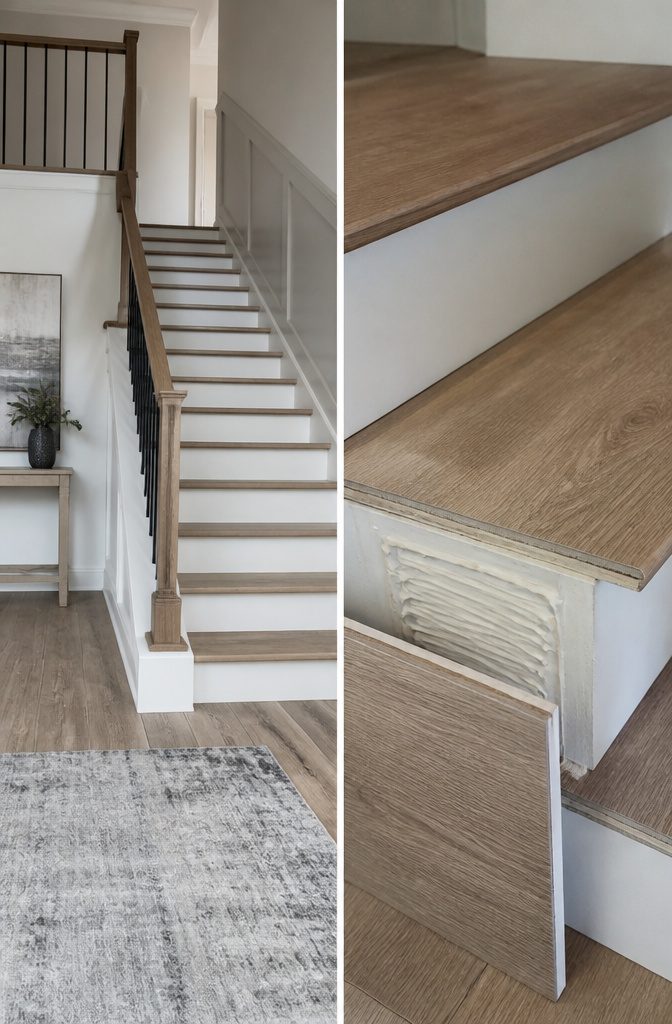
Cut each riser to its measured height and width, then bond it to the vertical face with construction adhesive pressed firmly for full contact.
The riser sets the visual plane that the tread and nosing will meet, so getting it plumb and flush matters more than perfect millwork; the tread’s front edge will overlap this joint and hide minor sins.
Manufacturers like Cavalieri put risers first in their sequence for exactly this reason: the tread lands on top of the riser rather than butting into it, giving a cleaner finished joint and more forgiving install.
Everything on stairs gets adhesive, nothing floats, since shifting or bounce on a staircase is dangerous in ways a living room floor never is.
Design turns on whether you run the same LVP up the risers or break it with white paint.
The Ryder plank from MSi Surfaces’ Cyrus series, with its warm beige-brown knots and graining, reads as solid reclaimed wood when carried full-height. The Prescott series’ Braly tread, deep reddish-brown against bright white risers, hits harder with contrast.
Matching LVP suits sleek continuity; white risers stop the wood look from overwhelming a foyer. Either handles high traffic, so the call is visual, not practical.
6. Nosing First, Then the Tread
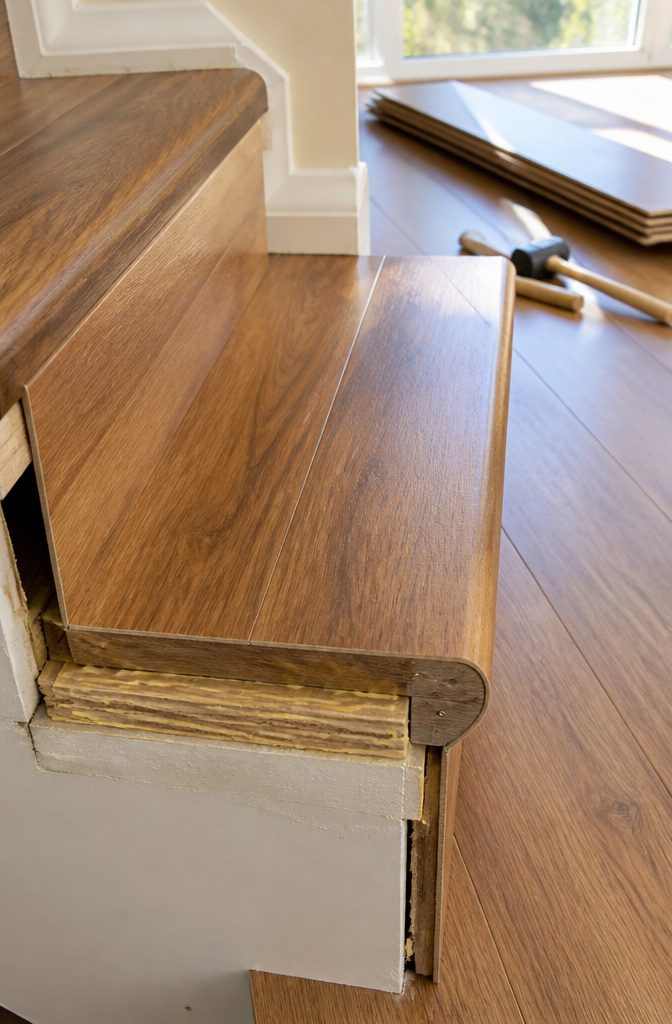
The nosing takes the beating, so it gets the hardware.
Construction adhesive runs along the front edge, then finish nails pin it while the glue cures. That dual hold matters because this strip catches every heel strike going up and every toe catch coming down.
Adhesive alone would creep; nails alone would loosen. Together they stay put.
The tread plank gets cut to depth so it butts clean against the back of the nosing and overlaps the riser below.
Full-spread adhesive across the entire surface is the only way I’d do this, not dabs or beads. Patches of bare subfloor let the plank flex, and flexing on a stair tread cracks the wear layer at the worst possible spot.
Press it down completely, roll it or weight it, and check for air pockets before the open time runs out.
Click-lock and floating installs have no place here. Stairs need every board locked to the structure beneath it.
7. Work Top-Down and Wait
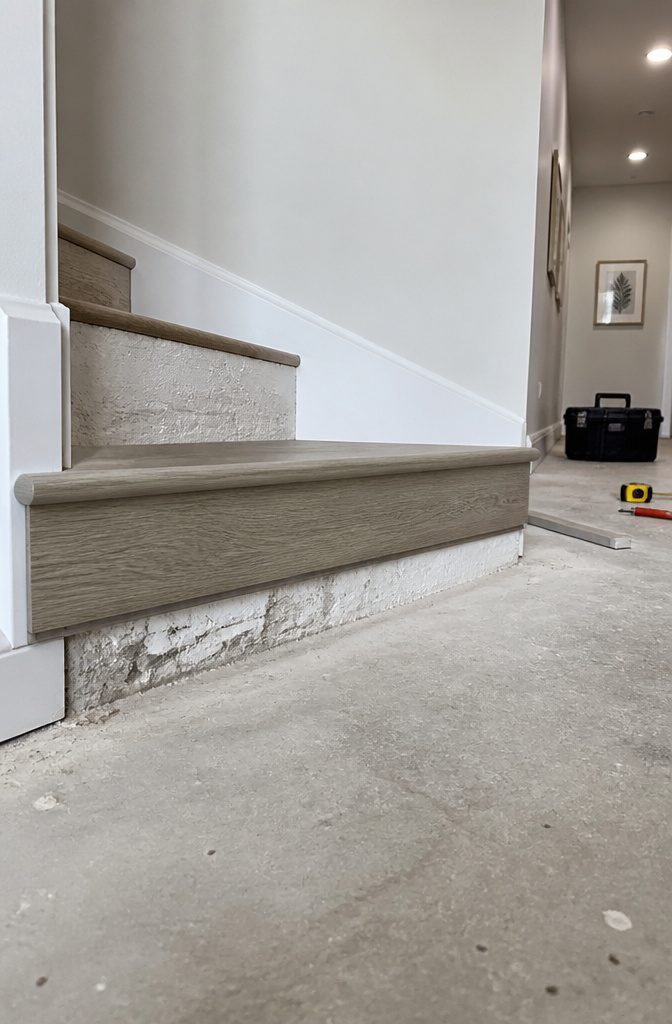
Adhesive squeeze-out on a fresh stair tread will ruin the finish if you kneel in it, so the top step gets bonded first and you work your way down.
Gravity already works against you on stairs; adding your own weight to uncured glue turns a small smear into a locked-in mess that no amount of mineral spirits will lift.
I learned the difference between dry to the touch and fully cured the hard way during a hallway install where I walked too early. The surface felt set after six hours, but the bond underneath was still shifting.
On stairs that risk is worse because every footfall drives shear stress across the nose. Most construction adhesives for flooring ask for 24 hours before traffic; I treat that as a hard limit even in summer when the air feels dry.
Traffic means all traffic. A cat running up to investigate counts.
So does setting down a toolbox on step three while you finish step twelve. Block the bottom with a chair, not a note, because anyone who has lived through a wet-paint sign knows notes get read after the fact.
The bond you protect is the one holding the nosing where someone will step a thousand times a month.
Safety and Slip Resistance
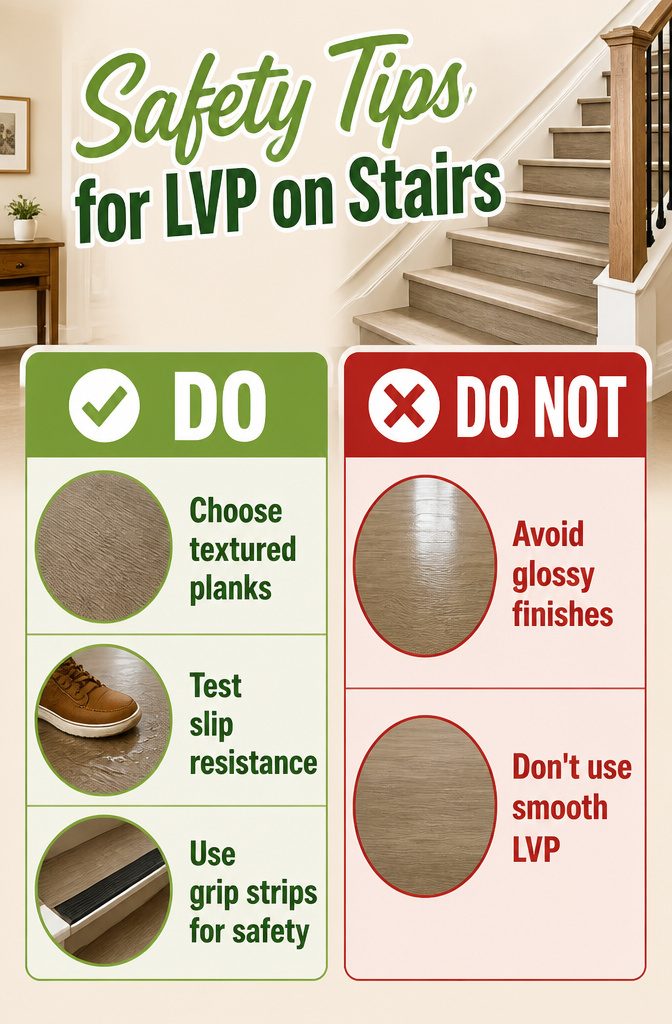
Stairs are where most home falls happen, so the texture of the LVP you choose matters more there than anywhere else in the house.
I look for planks with an embossed, textured wear layer and a higher slip-resistance rating, not the gloss finish that reads as slippery underfoot. Standard LVP can be treacherous on steps, especially in socks.
For my own testing, I run a wet shoe across the sample plank on a flat surface.
If my foot wants to hydroplane, that plank is not going near my stairs. Textured LVP passes this; smooth LVP does not.
In high-traffic areas or anywhere bare or wet feet are common, low-profile stair-tread grip strips add safety without ruining the look. They sit nearly flush and give the extra margin that textured plank alone might not on the wettest days.
What Can Go Wrong
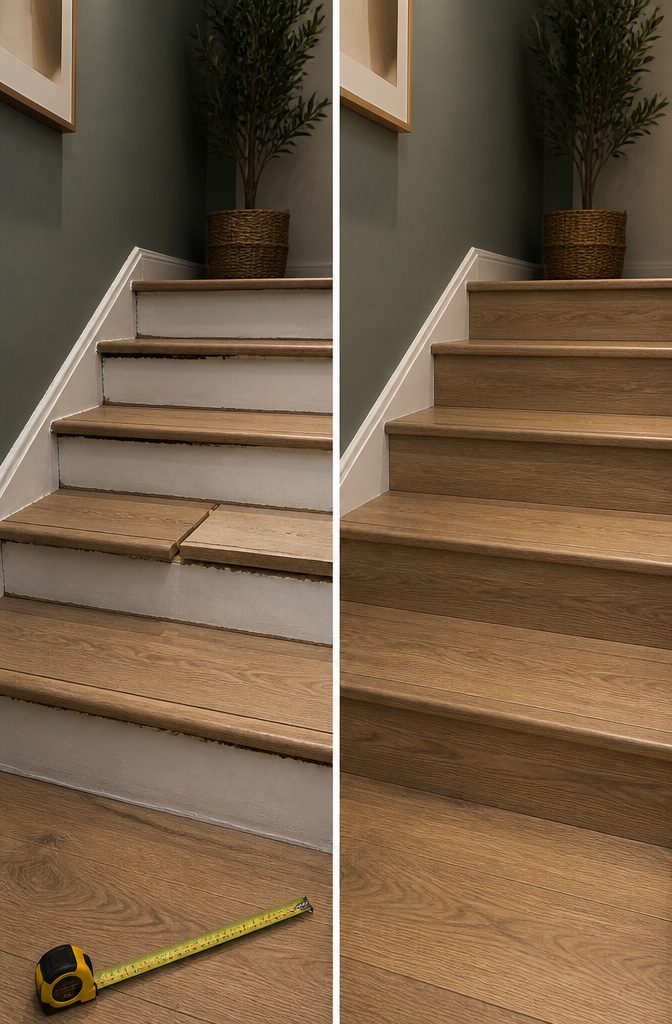
Measuring each step on its own matters more on stairs than anywhere else in a house.
The depth and width vary enough that a single figure copied from the landing to the top tread leaves gaps at the edges or forces a plank to overhang.
I learned that the hard way on a basement set where the bottom riser was three quarters of an inch shallower than the rest; the tread piece I had already cut hung past the nosing like a loose tooth.
Adhesive has to cover the full contact surface, not just the center or the corners. On stairs, a hollow pocket under the plank becomes a crack waiting to open under foot traffic.
The wrong core turns that risk into a guarantee. WPC flexes more than SPC, and on a stair the give translates to tearing at the nosing or snapping at the front edge.
The wear layer matters the same way: thin vinyl over a soft core will crack at the stress point where the tread meets the riser, usually within a year of daily use.
Nosing profiles have to match the plank thickness exactly. An overlap stair nosing that sits too high catches socks and creates a trip lip; one that sits low exposes the subfloor edge and collects grime.
The color match is the easier half of the problem. Finding the profile fit is what separates a stair you trust from one you watch every time you carry laundry down.
Manufacturers rotate colors with trends, and a discontinued line leaves replacement treads impossible to find. When the nose snaps or the adhesive lets go, the whole flight often has to come up together.
Frequently Asked Questions
Can you install floating click-lock LVP on stairs?
No.
Stairs must always be full-spread glue-down, never floating. A floating click-lock floor relies on planks expanding and contracting as one connected field across an open floor, but on stairs there is nowhere for that movement to go.
Floating planks shift, lift at the nose, and create a serious trip hazard. Every tread, riser, and stair nosing must be permanently bonded with construction adhesive.
What type of vinyl plank is best for stairs?
Use rigid-core SPC (stone polymer composite) luxury vinyl plank for stairs.
Flexible WPC cores deform over the tread nose within months, while the stone-polymer composite holds a clean, supported edge where foot traffic concentrates all its wear. SPC also resists telegraphing from the stringer underneath, which softer cores eventually show.
What is the difference between overlap and flush stair nosing?
Overlap stair nosing has a lip that sits on top of the finished tread, which makes it forgiving for retrofits where existing stairs might not be perfectly uniform.
Flush nosing sits level with the plank surface and only works for glue-down installations, though the result looks more built-in. Both styles need construction adhesive plus finish nails for mechanical security.
How do you measure stairs for vinyl plank?
Measure every single step individually rather than copying one figure across the whole flight. The depth, width, and riser height of each step can vary by a fraction of an inch, especially in older homes.
Label every piece with its step number as soon as you pull the measurement: tread depth, tread width, riser height, riser width. Cut to fit per step.
Is luxury vinyl plank slippery on stairs?
Standard LVP can be slippery on stairs, especially smooth or gloss finishes under socks.
Look for planks with an embossed texture that adds grip without looking industrial. For high-traffic areas or anywhere bare or wet feet are common, low-profile stair-tread grip strips add safety without ruining the look.
Is it a good idea to put LVP on stairs?
Yes, if you use the right materials and method. Rigid SPC core, full-spread glue-down installation, matching stair nosing, and at least a 20 mil wear layer are all necessary.
Stairs are the highest-fall-risk surface in a home, so a loose plank or rounded edge that catches a heel is a trip hazard that justifies the extra adhesive and rigid core.
How do you do stairs with LVP flooring?
Start with 48 hours of acclimation inside the house, not the garage.
Remove old carpet completely, secure any loose treads, then install risers before treads. Bond the nosing first with construction adhesive and finish nails, then cut each tread to butt clean against the nosing and overlap the riser below.
Work top-down so you do not kneel in uncured adhesive. Wait a full 24 hours before any traffic.
Is it expensive to put LVP on stairs?
Each step runs $50 to $120 installed. Stairs are rarely identical, so the measuring alone eats more time than a landing would.
The total adds up quickly for a full flight, and the cost reflects the precision required: individual measurement per step, full-spread adhesive, matching nosing, and the rigid SPC plank that holds up under concentrated wear.