
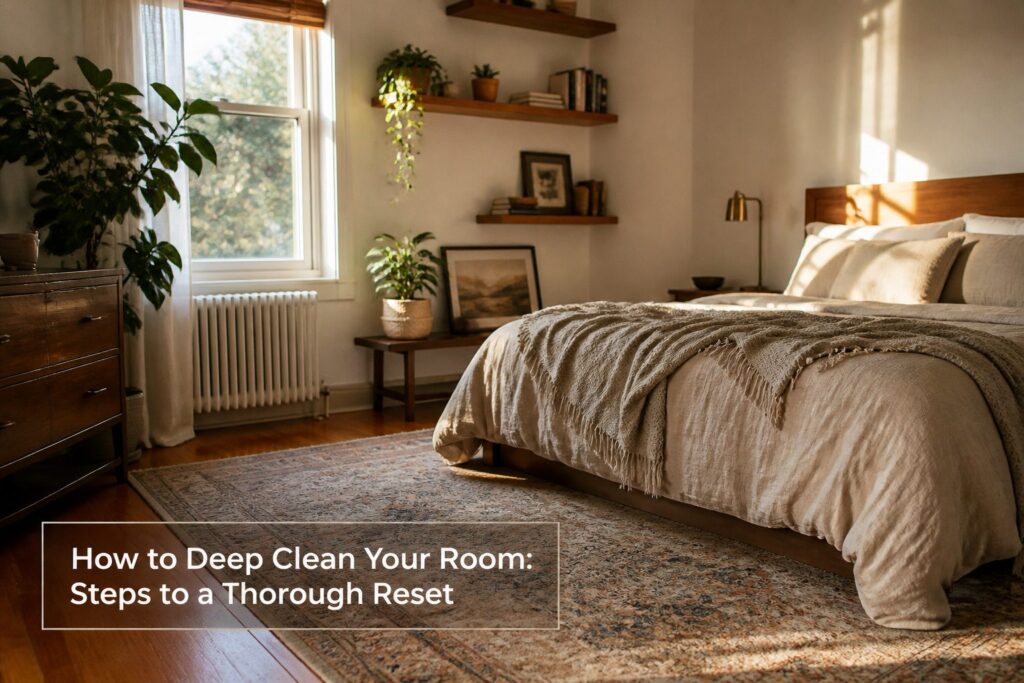
A room reset done right takes about 30 minutes of actual work once you stop treating decluttering like a separate project. The mistake most people make is grabbing a vacuum first, which only pushes loose debris around surfaces you never cleared.
The trick is the order: trash, then clutter, then dust falling top to bottom. I learned that the hard way when I pulled down curtains untouched for two years and spent ten minutes sneezing.
1. Remove Trash
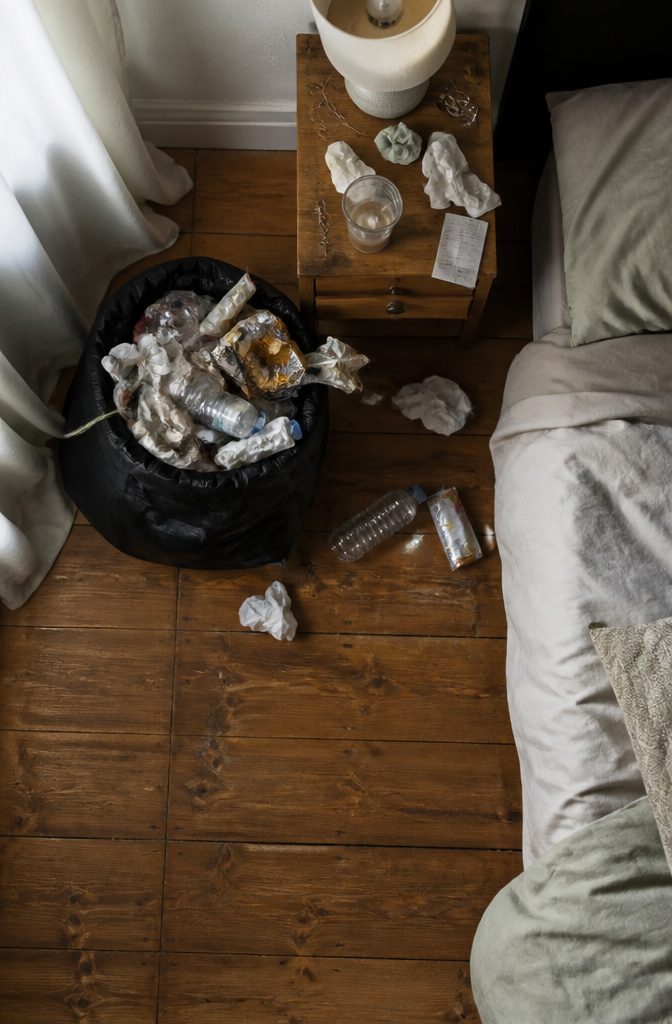
A trash bag is the first tool you reach for, not the last. Every surface that still holds wrappers, tissues, or the packaging from whatever arrived last week is space you cannot clean yet.
Start with the obvious discard pile, the stuff that asks no decision: empty containers, crumpled receipts, food scraps from late-night snacks.
Bedside tables, desk corners, and the floor near the door collect most of it. Check under furniture edges while you are moving; gravity does its work there too.
The wastebasket in the corner counts.
A full can makes the whole room feel used up before you have touched anything else. Empty it, and if the bag is thin or wet, swap it now so you are not handling it twice.
Recycling can wait.
Owners on Reddit mention getting stuck on separation rules and letting garbage pile up because of it. If your local program is simple, sort as you go.
If it is not, one mixed bag today beats a half-finished room. Tie it off, walk it out, and come back to cleared floors and surfaces that can actually be wiped down.
2. Declutter
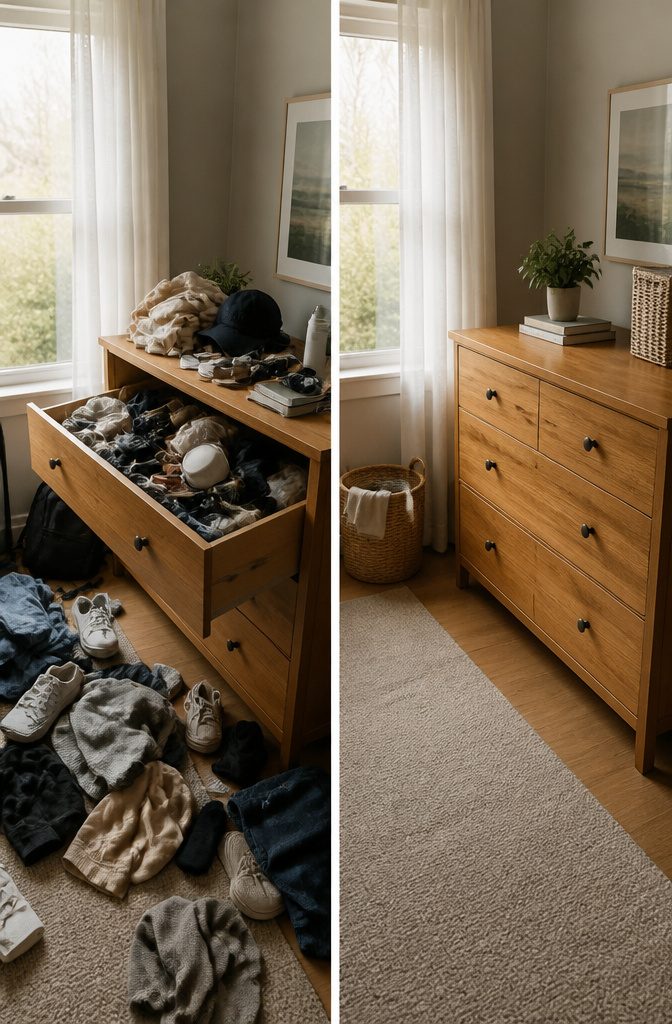
Surfaces hide more than they hold once you start looking.
The nightstand that collects water glasses, the drawer that swallows charging cables, the closet rod bent under clothes you forgot you owned: each one adds weight to the job before the real cleaning starts.
Stripping them down first turns a three-hour overwhelm into something you can finish in about 30 minutes.
The method is simple and brutal. Pull everything out, wipe the empty space, then sort into keep, donate, or discard before anything goes back.
Clothes you haven’t worn, books you’ll never reread, the third spare phone charger: if it doesn’t earn its spot now, it never will. A box in the car for thrift-store drops saves you the second trip that kills momentum.
What returns to the room should be only what you use and what you want to see. The rest is just future dusting.
3. Dust High to Low
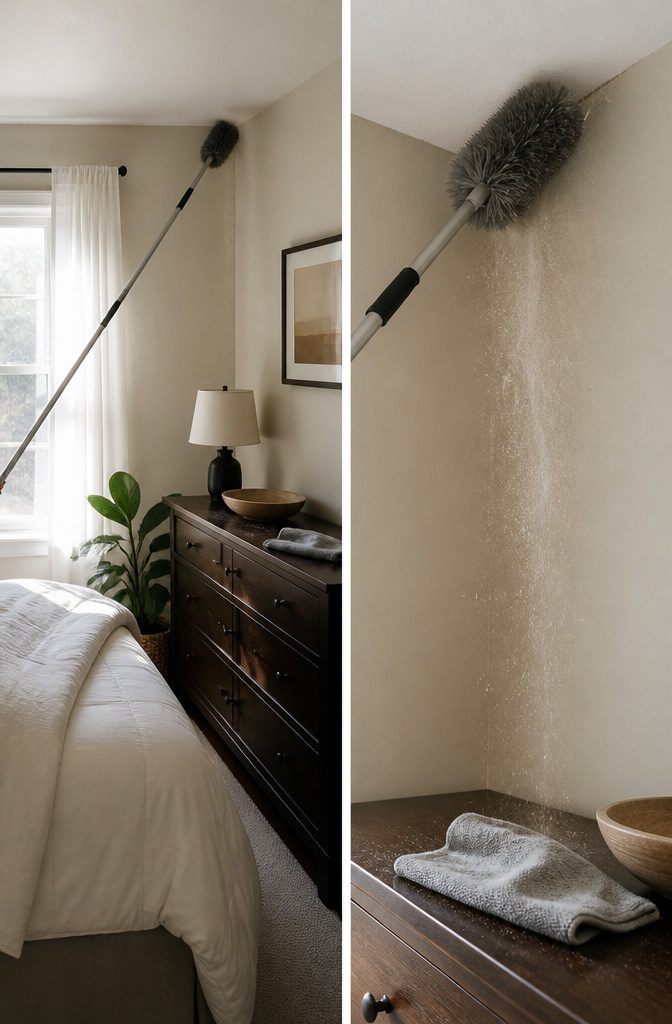
Ceiling corners collect cobwebs you won’t notice until you get up close.
I use an extendable dusting wand for those high joints where walls meet the ceiling, then work down through light fixtures, curtain rods, and the tops of frames and furniture.
A dry or slightly damp microfiber cloth catches what falls without redistributing it, so each lower pass handles the debris from above.
Skip spraying anything directly into fixtures, switches, or vents.
Apply cleaner to the cloth first, then wipe. Baseboards and the space behind beds and nightstands tend to hide the worst buildup, especially if pets sleep in the room.
Move furniture enough to clear those pockets. The whole sequence takes maybe twenty minutes and saves you from vacuuming twice.
4. Clean Windows and Mirrors
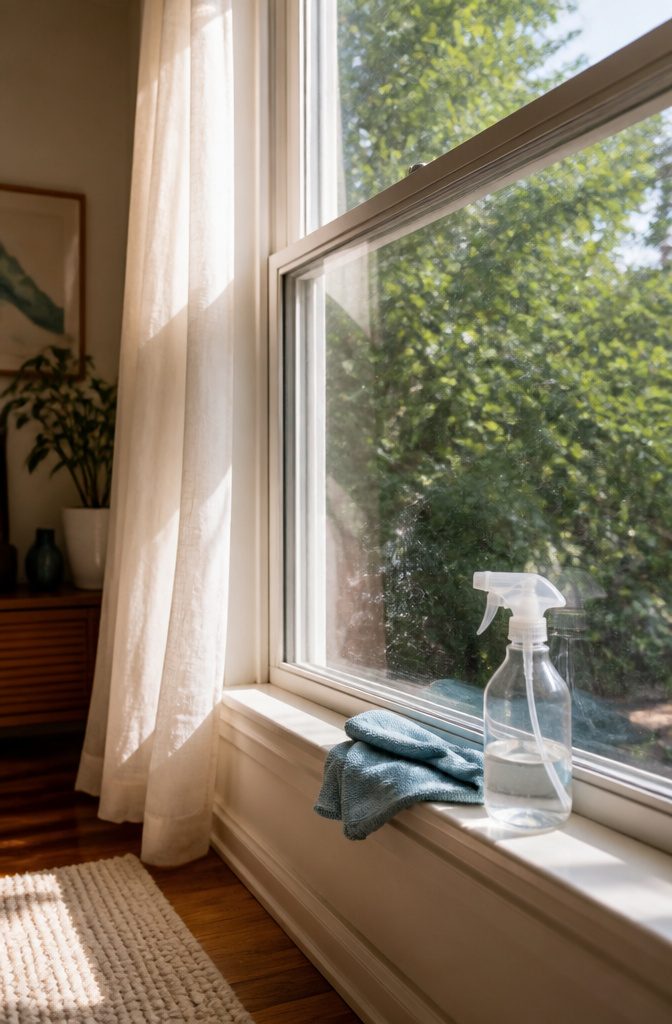
Glass cleaner works best on windows and mirrors that have already been dusted, so any particles stirred up during earlier steps do not resettle on the surface.
I wait until after the frame, sill, and accessible track have been wiped before I touch the glass itself, not the other way around.
A modest amount of product and a clean, lint-free cloth are what the job actually takes. Too much pressure causes streaks, so I wipe in one gentle direction rather than scrubbing back and forth.
The vinegar-and-water approach some people keep suggesting is not the universal fix it gets treated as; acids in that mix can damage certain frames, films, stone surrounds, or specialty finishes.
A product allowed by the window or mirror manufacturer is the safer bet. Exterior, elevated, damaged, or otherwise hard-to-reach windows are outside what a weekend room reset should attempt; those stay on the list for a provider with proper equipment.
5. Wipe Down Surfaces
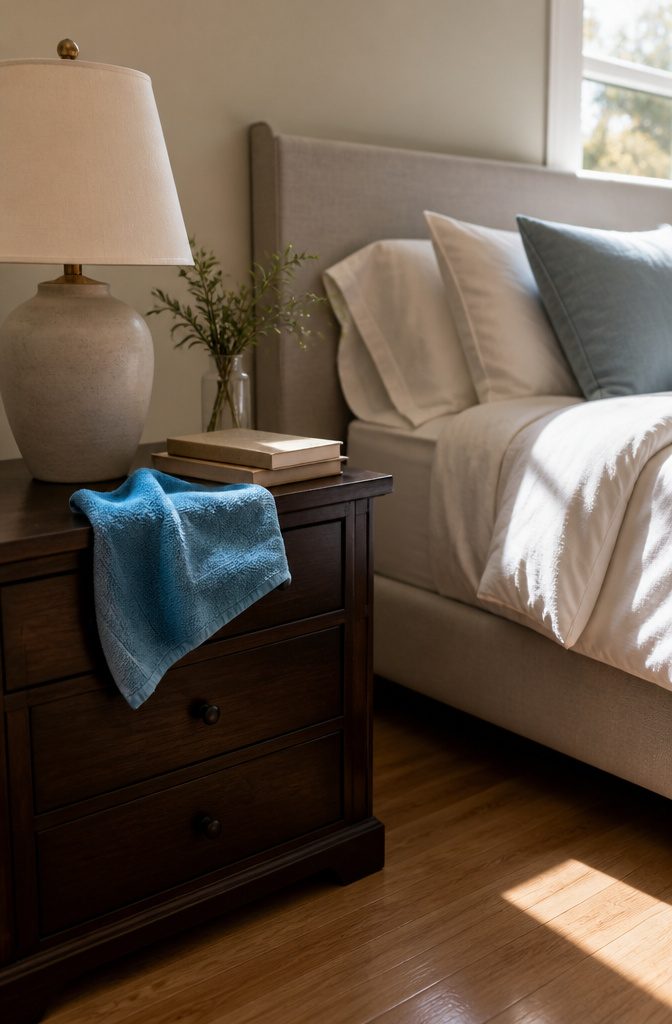
The damp cloth catches more dust than a dry one, which is why I run a barely-wrung microfiber over every hard surface before anything else.
Dressers, bed frames, nightstands, the flat edges of picture frames, even the blades of a ceiling fan that hasn’t been touched in months.
Painted wood, laminate, metal, acrylic, each one takes the same pass without complaint, though I still check an unfamiliar cleaner on a hidden corner first.
Cleaning and disinfecting are separate jobs.
Soap or detergent handles the routine layer; the CDC notes disinfection only matters when someone’s sick or high-risk, and if you go that route, you need an EPA-registered product with the full contact time on the label.
Never mix products hoping for faster results.
Pull furniture away from the wall while the surfaces dry. The baseboards behind a nightstand collect more dust than you’d expect, and the wall itself shows a faint gray line where air settles.
A second cloth, this one with plain water, finishes the rinse on anything that felt soapy. Once everything reads dry to the touch, the floor underneath is ready for its own pass.
6. Wash Bedding and Textiles
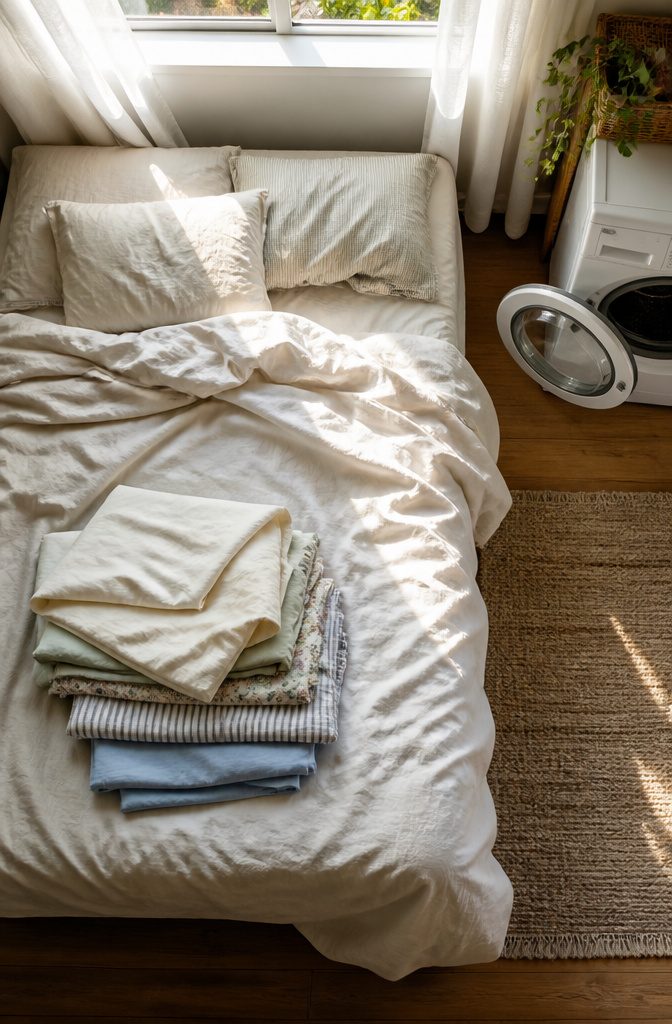
Strip the bed first, and the curtains too if they have not been washed in months.
Those textiles hold more dust than you expect. I learned that the hard way when I pulled down a set of curtains that had sat untouched for two years and spent the next ten minutes sneezing.
Sheets should be washed at least once a week. The mattress cover, pillowcases, and duvet cover all go in together if your machine handles the load.
People who wash their bedding regularly report 19% better sleep, and the reason is straightforward: dust mites build up fast, and their waste triggers allergies that wake you through the night.
A hot cycle kills them. Dry everything thoroughly before it goes back on the bed, damp fabric invites mold.
If the curtains are too large for your washer, a laundromat machine costs a few dollars and finishes the job while you clean the rest of the room.
7. Vacuum and Mop Floors
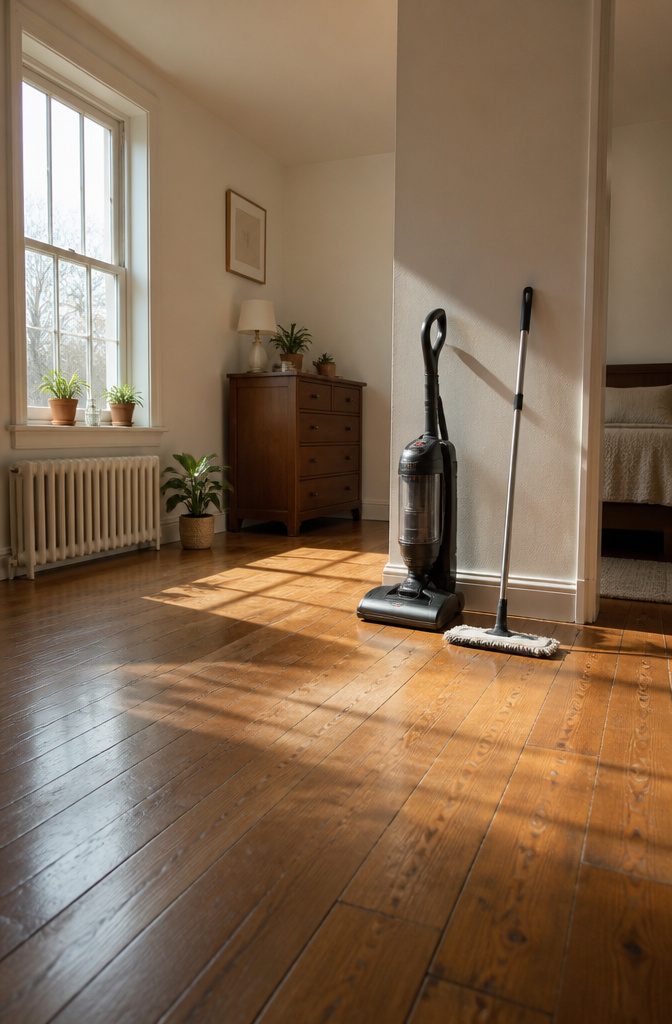
Floor cleaning comes last because every earlier step drops something, and running the vacuum twice is a waste of Saturday.
Move the bed first — not all the way out, just enough to get the vacuum head where dust actually piles up, between the mattress and the wall where the bedside table sits.
The crevice tool on most standard vacuums fits baseboards better than the main head does, and that matters after dusting has knocked debris exactly there.
Hardwood or tile demands a dry pass before any water touches it, even for a damp mop.
Too much moisture on laminate seams or wood finishes causes damage that shows up months later, so the manufacturer’s guidance on your specific floor type is worth the thirty seconds to check.
For carpets, a rental steam cleaner hits deeper than vacuuming alone, though for most weekend resets, slow vacuuming with the pile-height setting adjusted properly picks up enough.
Rugs need checking too, but only if the care label permits treatment. Spot cleaning with the wrong product on a rug you can’t afford to replace isn’t a chance worth taking on a Sunday afternoon.
8. Organize and Reset the Room
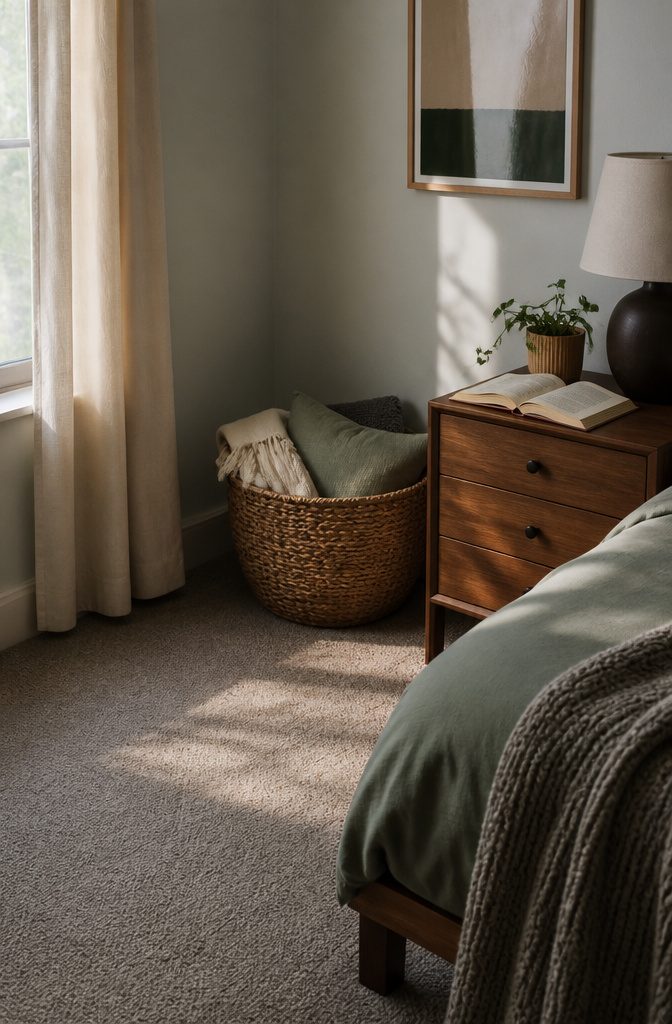
The last thing you want after washing linens and wiping every surface is to shove clutter back into corners. A designated basket or bin for stragglers keeps the reset honest.
During my last deep clean, I kept a plastic storage bin in the hallway for anything that belonged in another room, which stopped me from making piles that sat there for days.
Clothes go where clothes live. Trash belongs in the bin, not on the nightstand.
Leave some drawer or shelf space open, though. A packed closet looks tidy for about a week, then things start landing on the chair again because there is nowhere left to put them.
A short evening reset works better than waiting for the next full session.
I run the return-items-and-clear-the-floor loop at the same time each day. The floor stays visible, and the room actually feels finished.
What You Need
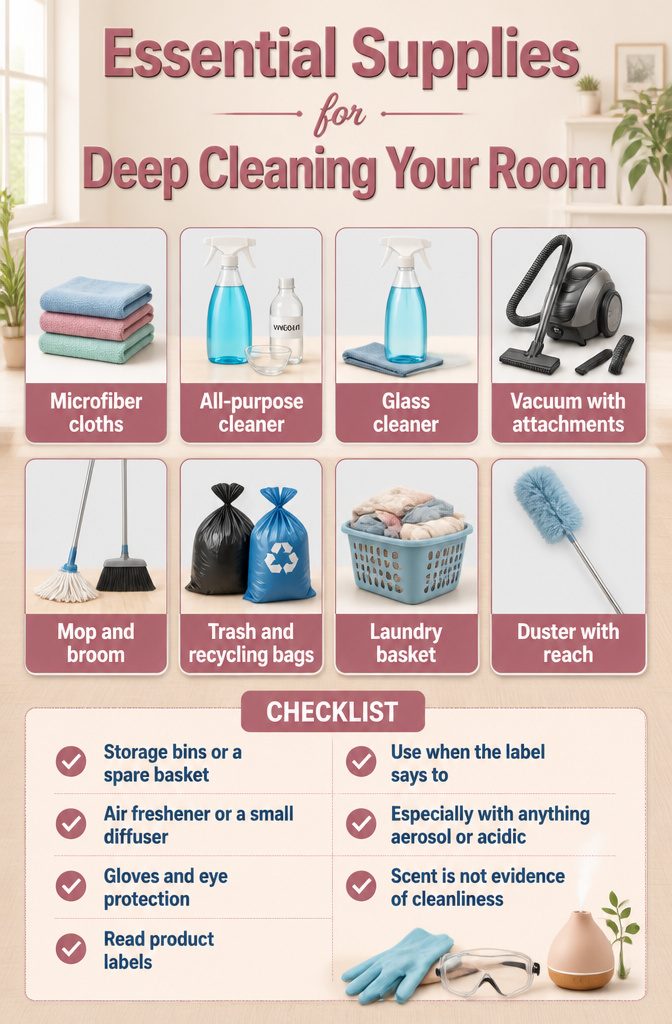
The right supplies keep a deep clean from turning into a scavenger hunt through half-opened cabinets. Here’s what I gather beforehand:
- Microfiber cloths for dusting and wiping surfaces without leaving lint behind
- An all-purpose cleaner, either store-bought or a vinegar-and-water mix if you prefer natural
- Glass cleaner for mirrors and windows
- A vacuum with attachments for corners, baseboards, and upholstery
- A mop and broom suited to your floor type
- Trash bags and a recycling bag, since the first step always generates more waste than expected
- A laundry basket for bedding and clothes that migrate to the wash
- A duster with enough reach for ceiling corners and light fixtures
- Storage bins or a spare basket for items that belong in other rooms
- Air freshener or a small diffuser if you want the finished room to smell clean, though the sources I checked note that scent is not evidence of cleanliness
Some owners on Reddit mention skipping gloves and eye protection, but product labels exist for a reason. I keep them within reach and use them when the label says to, especially with anything aerosol or acidic.
How Often to Deep Clean
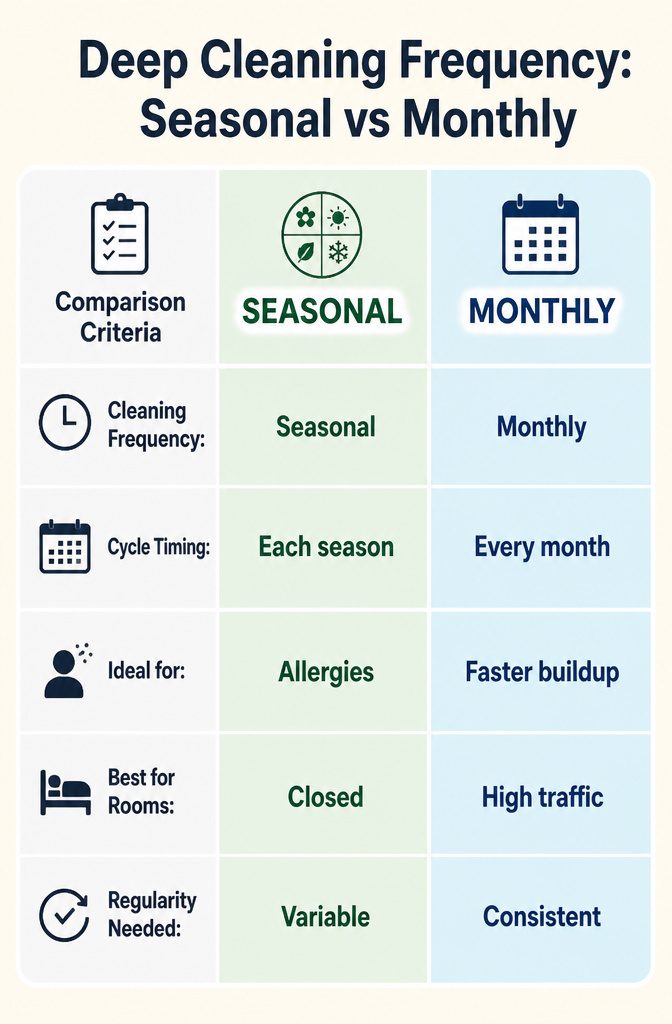
Some sources tie a bedroom deep clean to the turn of each season, timing it around the moment you swap out sweaters for shorts or vice versa.
The logic holds up: allergen loads shift with the weather, and the closet shuffle already has you pulling everything out. Others treat it as a monthly reset, arguing that dust and skin cells build faster than quarterly attention can handle.
The right cadence depends on what actually happens in your room. Pets on the bed, windows left cracked, a rug that traps everything, or a tendency to eat at your desk all push the schedule toward shorter intervals.
A room that stays closed and uncluttered can stretch longer without the same buildup.
If you already do a weekly surface wipe and daily reset, seasonal deep cleaning is probably enough.
Skip the monthly version only when that lighter routine is real, not aspirational. Visible soil is the honest signal: when dust shows on the baseboards or the mattress starts feeling stale, the calendar no longer matters.
Air Quality and Sleep

A clean bedroom does more than look tidy; it changes how you sleep. Studies tracking sleep quality found that people who wash their sheets and bedding regularly report 19% better rest at night.
The mechanism is straightforward: deep cleaning removes dust, pollen, and skin cells that accumulate in bedding and carpet, cutting the allergen load your body fights while it should be recovering.
Less congestion and fewer irritated airways mean less tossing and turning.
I skip air fresheners entirely in favor of opening windows for twenty minutes during and after a deep clean.
The fresh air circulates out volatile compounds from cleaning products and lifts out the stale smell of closed rooms without adding synthetic fragrance to the mix.
In older homes, especially those built before 1978, that open-window period also helps vent any dust disturbed from window sills where lead-based paint debris may have settled.
A bedroom that smells like nothing but fresh air is, to me, the signal that the reset is complete.
Natural Cleaner Options
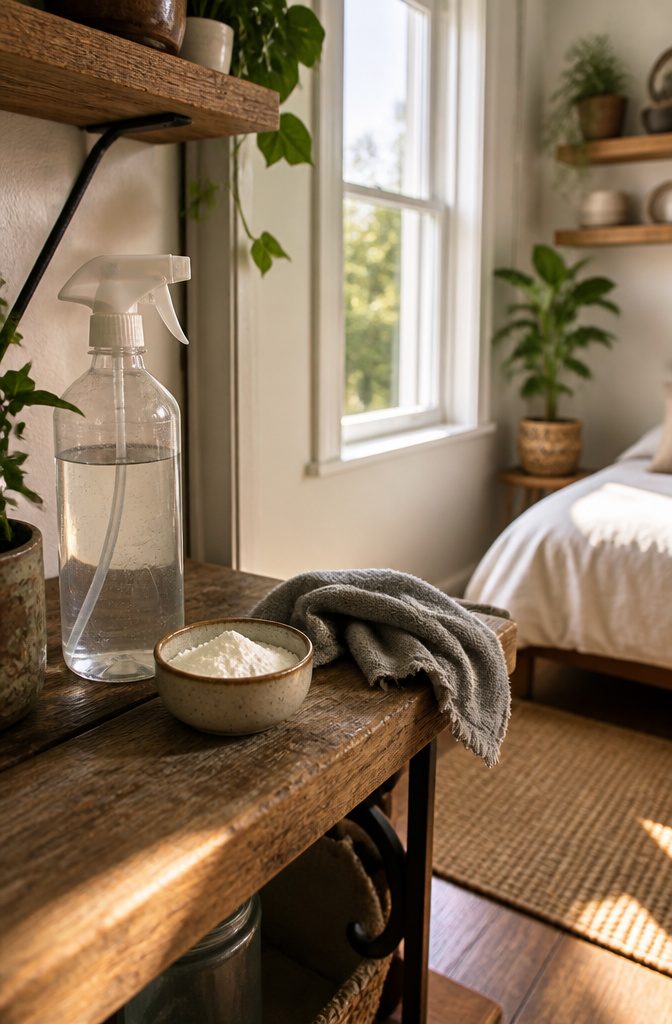
Vinegar and water mixed in a spray bottle will cut through the film that builds up on bedroom windows, though you have to wipe in one direction and resist the urge to press hard or the streaks show anyway.
I keep a separate bottle under the sink for this, labeled so nobody tries to use it on salad.
Baking soda sits in the same category: cheap, already in the pantry, abrasive enough to lift scuff marks off a painted baseboard if you dampen a rag and rub gently.
The catch is that a household ingredient is not automatically compatible with every material or finish.
Natural stone, unsealed wood, and anything with a manufacturer care label you have not read yet are places to test in a hidden corner first.
I learned that one the hard way on a laminate dresser years ago, and the pale spot is still there.
Never mix vinegar with bleach or with any commercial cleaner unless the label explicitly directs it.
The reaction can release chlorine gas, and a bedroom is the last place you want that clouding up. For most deep cleaning jobs, the store-bought products win on speed and smell.
The natural route costs less and skips the chemical headache for anyone sensitive to fragrance, but it asks for more patience and more attention to what surface you are touching.
Upholstery Notes
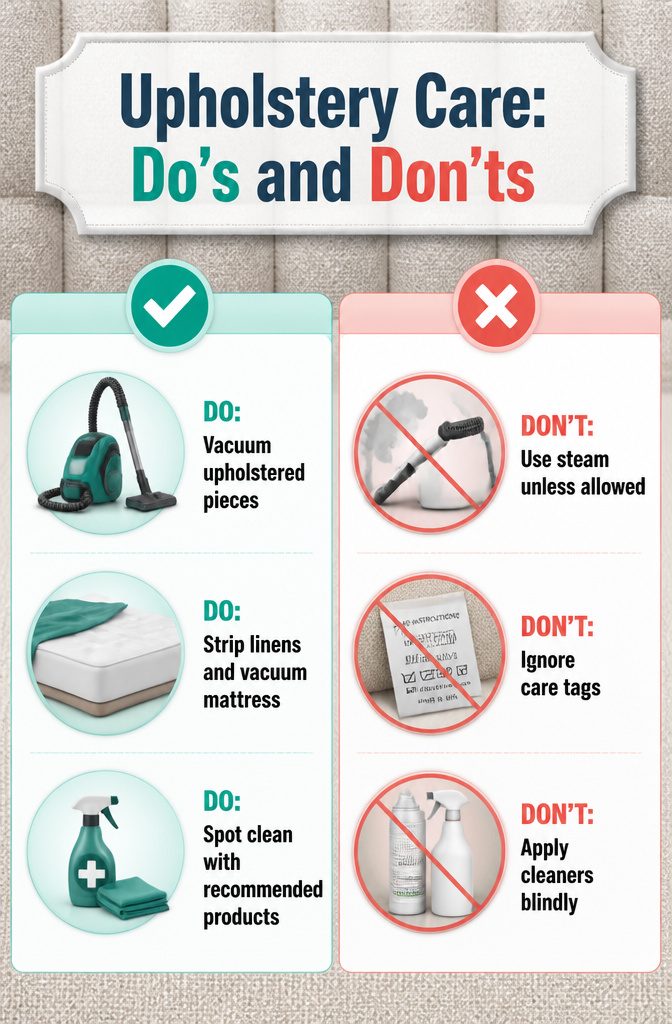
Most room-cleaning guides stop at hard surfaces and bedding, which leaves a gap where upholstered furniture collects dust and odors without a clear protocol.
The sources that do mention it split on method: one path runs a handheld steam cleaner over chairs and headboards, while the other warns against steam entirely unless the manufacturer explicitly permits it.
That disagreement matters because the wrong choice voids warranties or leaves water stains.
The safer play is vacuum-only for anything without a care tag you can verify, using an upholstery attachment to lift dust rather than push it deeper.
For mattresses, strip everything washable and vacuum the surface, then rotate or flip if the build allows.
Spot-cleaning is the only wet option the cautious source endorses, and even then only with products the maker recommends. Foaming upholstery cleaners exist, as do fabric disinfectants, but applying them blind risks residue you will smell every night.
What none of the guides I found spell out is how often upholstered pieces need this attention in a bedroom versus a living room, or whether curtains and headboards share the same cycle as bedding.
Until that research surfaces, treating upholstery as a separate, gentler job than linens keeps you from trading one problem for another.